E Learning; Phonics and Letters

IMG-9866.jpg

Make Letters Fun!

Make letters more enticing for your child by doing a few simple, easy tricks! All you need to do is take something highly motivating for your child and put it behind the letters. This was made right on word!

Letter Activities

IMG-9877.jpg
  • Slap It!

    • All you need is a set of post its with letters on them and a spatula or fly swat

    • Shout out a letter and have your child slap it as quickly as they can. Add another person in to make it a fun competition!

  • “Tracing”

    • Working on letters through tracing activities can be tedious for children. Let’s get creative! Have your child work on creating letters using cooked spaghetti, licorice, or other food items!

  • Letter Bingo

  • Letter Pong

    • To play letter pong all you need are plastic cups and a small ball of some sort (ping pong ball, bouncy ball)

    • Write a letter on each cup and have your child throw the ball into the cup of the letter you shout out

Phonics

  • Spin the Roll!

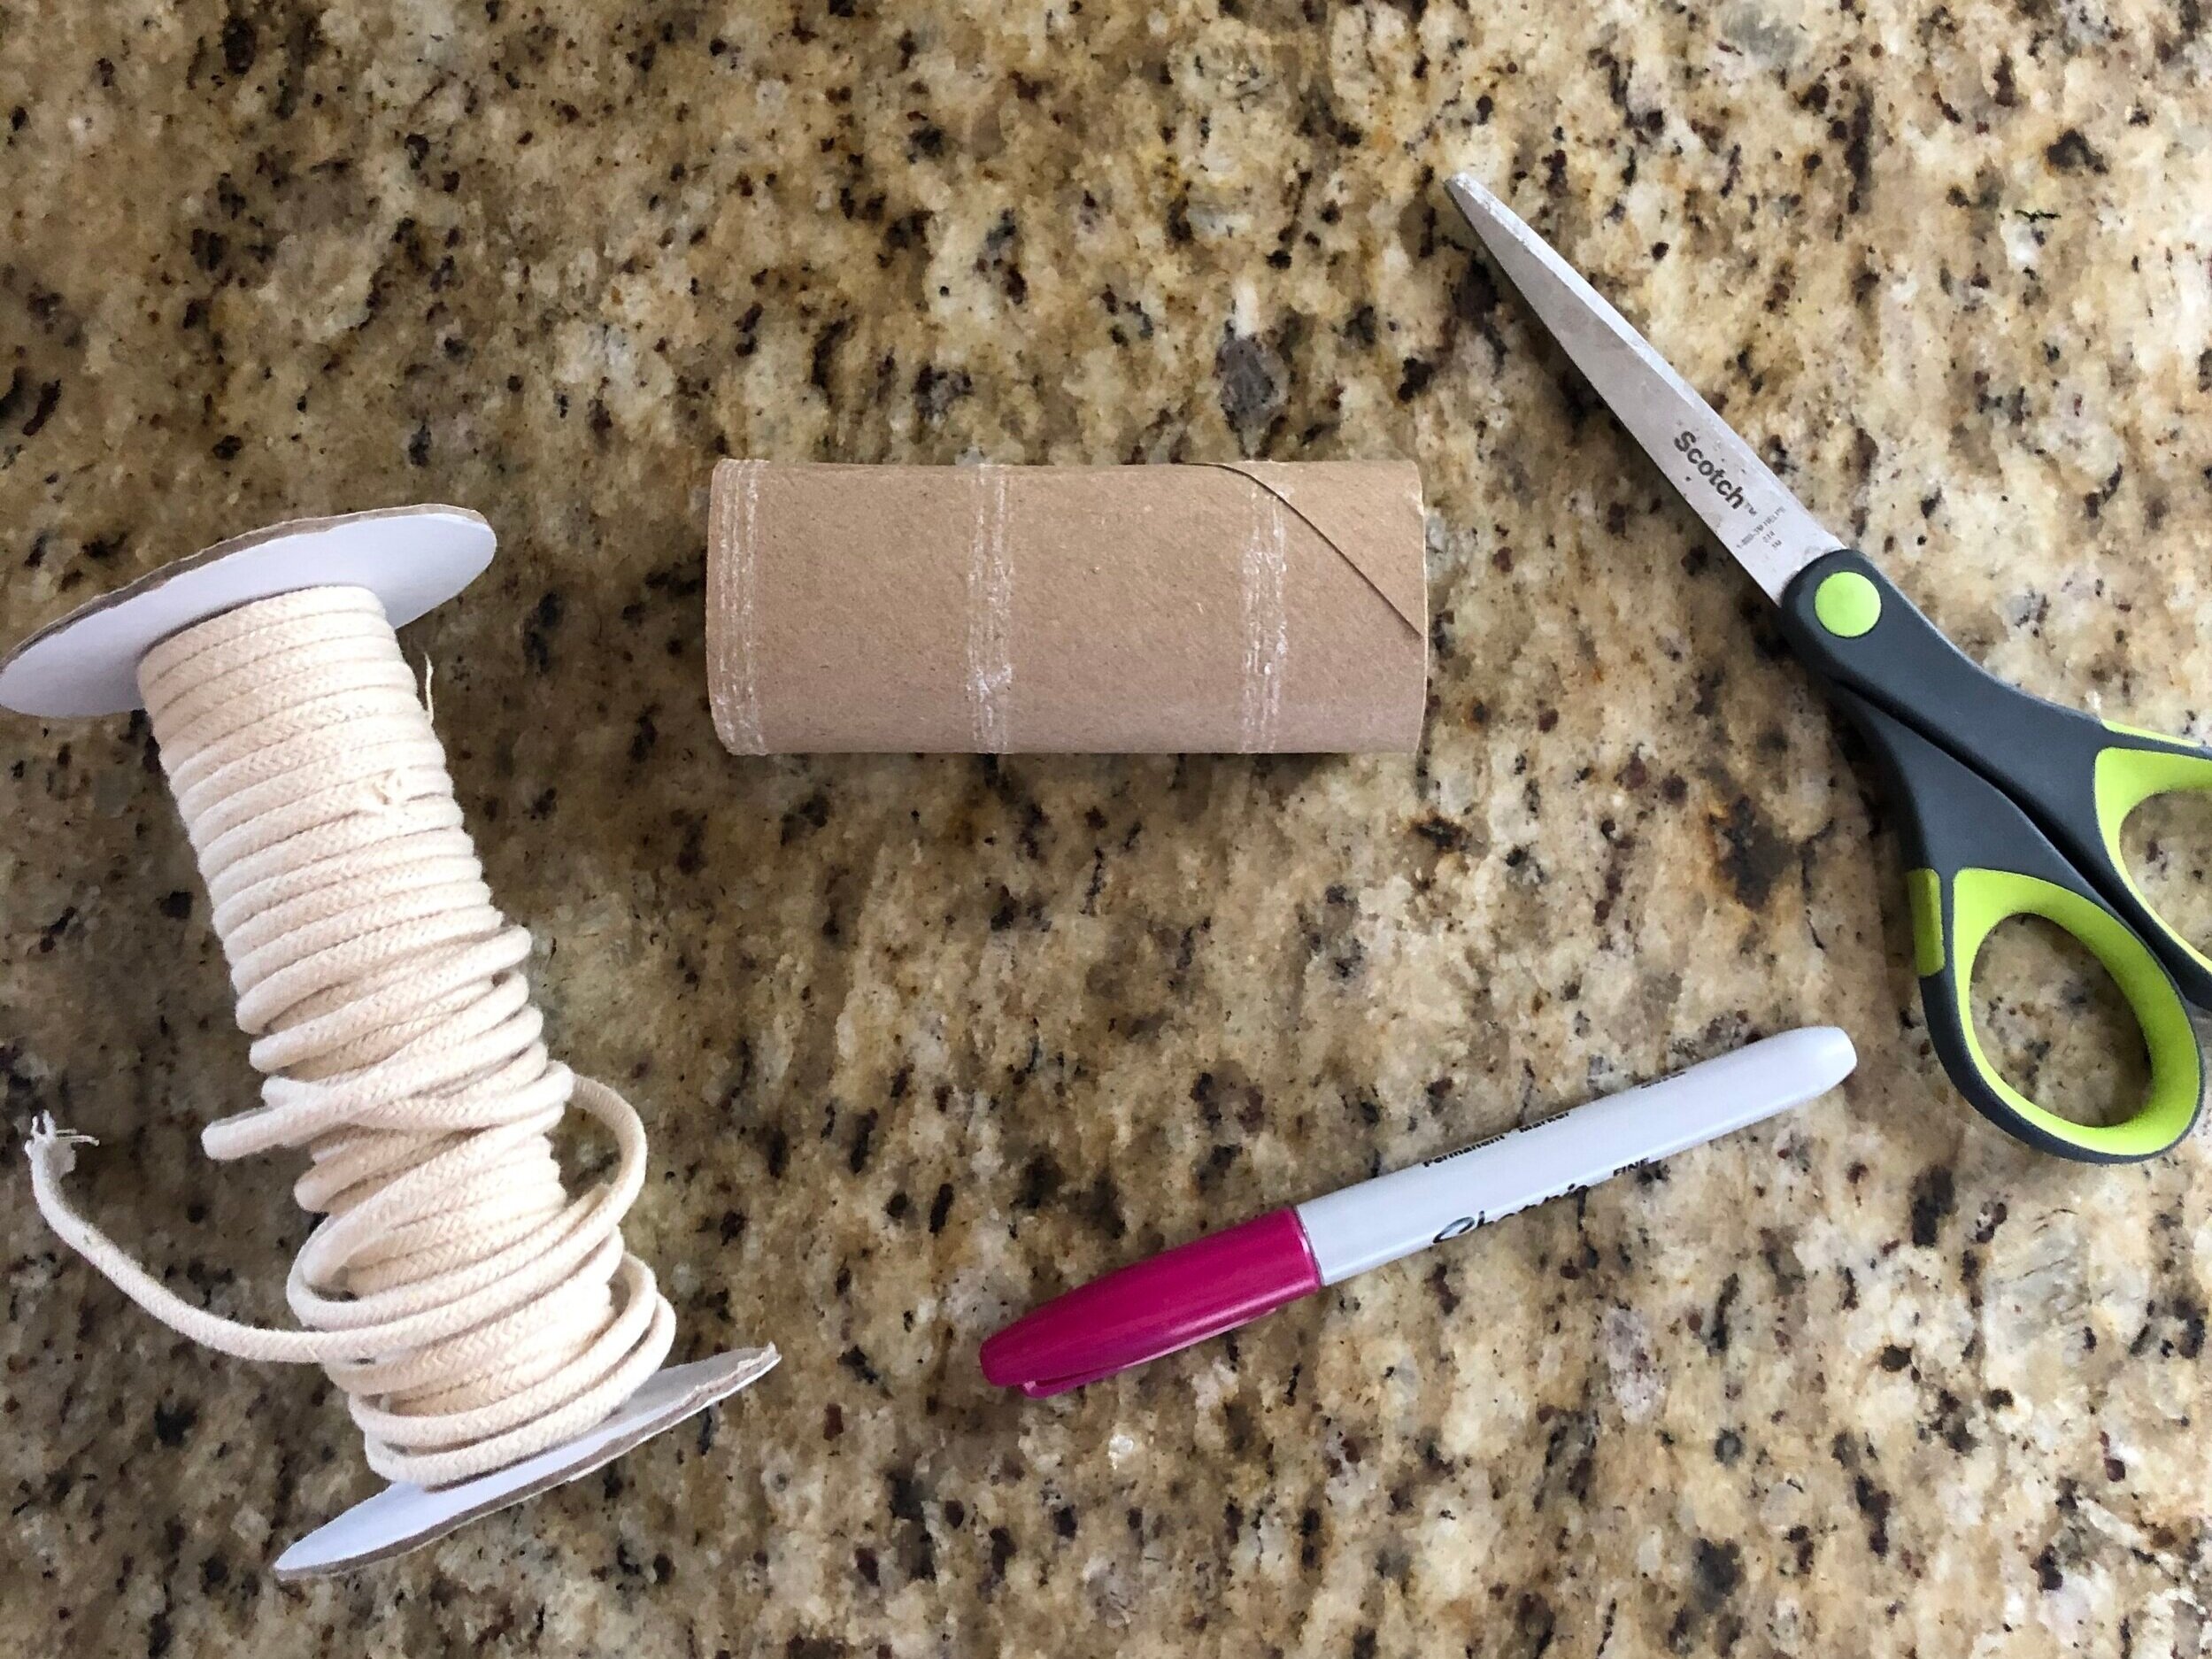
    • Toilet paper and paper towels are a hot commodity right now so let’s take full advantage of having some and make use of those rolls! All you need for these activities are yarn, paper towel or toilet paper rolls, scissors and a marker.

IMG-9879.jpg

Below’s setup can be used to spin and rhyme, work with word families, or work on beginning sounds.

If you want to modify the activity, cut the roll into three’s to sound out CVC words, four’s to sound out CCVC words, or work on middle and ending sounds.

IMG-9880.jpg
IMG-9881.jpg
  • Beginning Sounds Around the House

    • Write big letters on a piece of paper and have your child go around the house and sort the items by their beginning sounds. You can also use hula hoops or chalk it outside to create groups!

E Learning; Comprehension Activities


Comprehension Activities

Using TV time to Build Comprehension

Let’s make the 30 minutes of TV time that you as parents are beating yourself up about and turn it into a learning experience! Comprehension can be built in a number of ways; reading a story and answering questions is certainly the first thing we think of, but through conversation, probing questions like why and how can go a long way. After your child has finished watching a movie or a show, use these questions to build comprehension without them even knowing it!

  • How did the movie or show end?

  • Who is your favorite character and why?

  • Which part of the movie or show was your favorite?

  • Was there a problem? What happened and how was it solved?

  • What was the setting of the movie or show?

  • What was your favorite part and why?

  • What happened at the beginning of the show?

  • Was there anything that surprised you?


Comprehension Games

60816454223--43B5BA42-1D97-412D-B0A4-70B2D26FE33B.jpg
  • Dice Games

    • Materials: paper, dice, marker

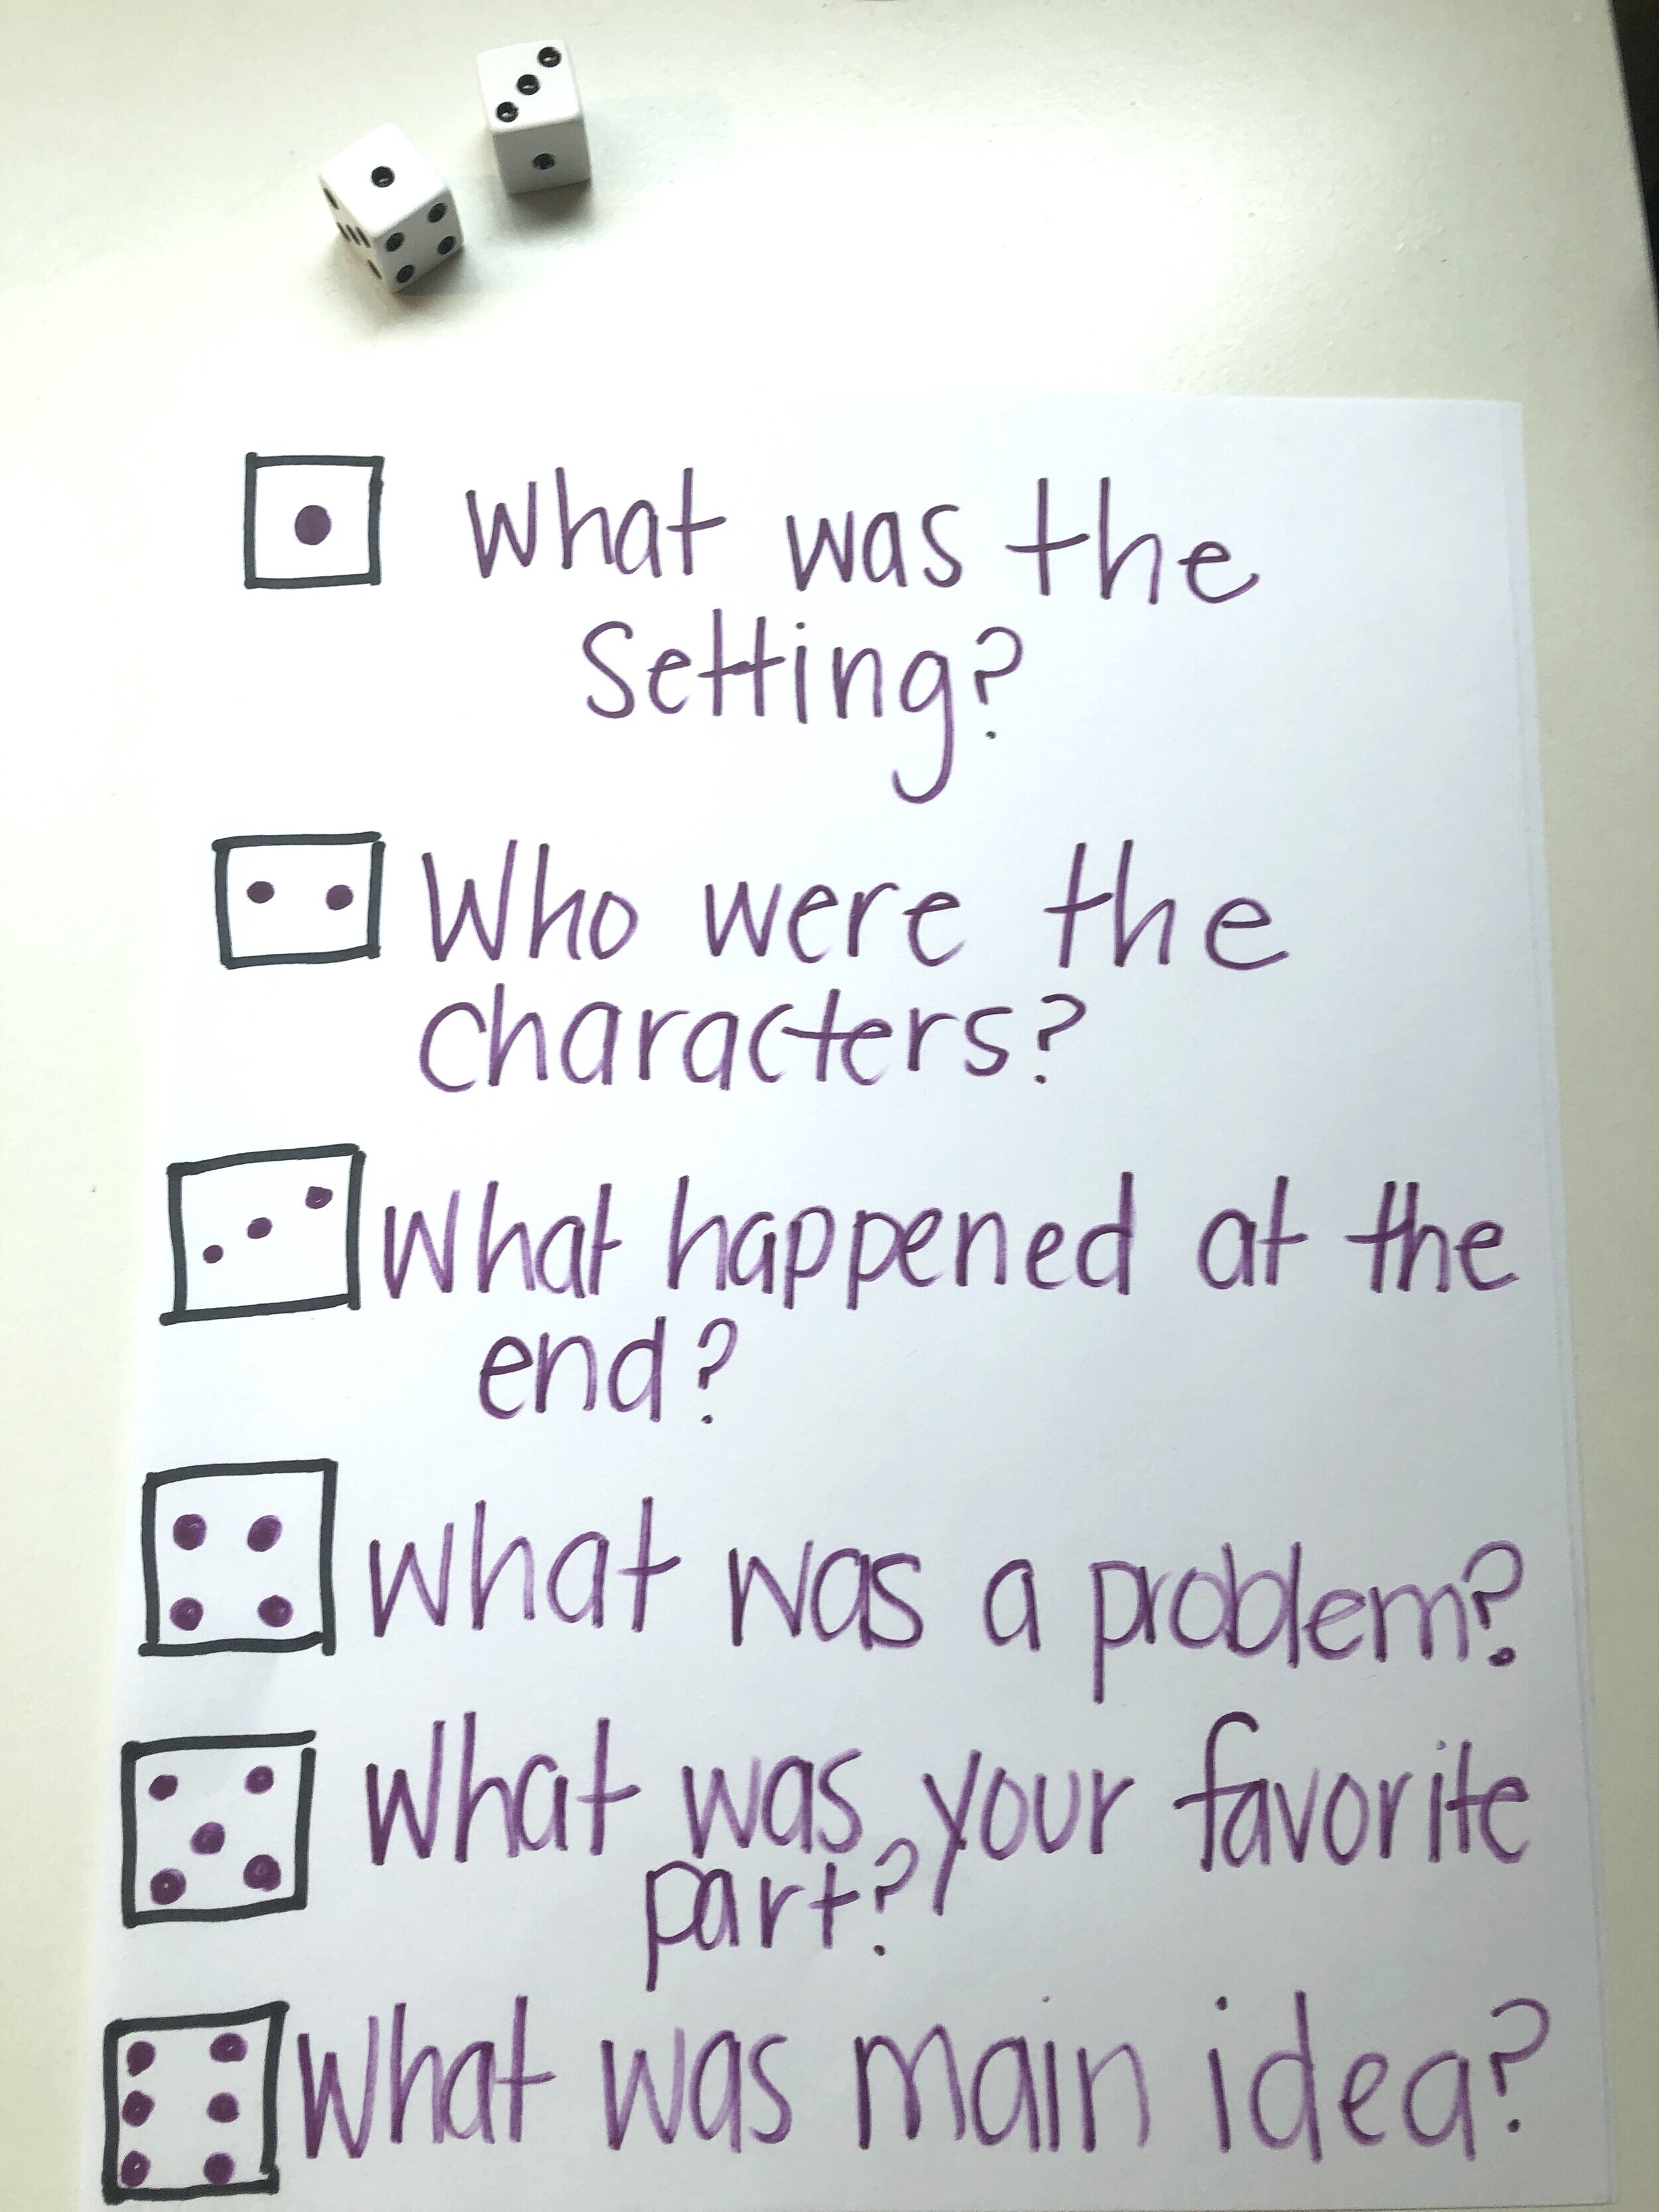
    • Make comprehension more fun after reading by having your child roll the dice to answer the questions. Questions can be interchanged based on books, level, etc.

    • Responses can vary based on each child: children can verbally say the answer, draw a picture of the answer, or write about their answer.

  • Spinners

    • Materials: paper, marker, pen/pencil, paperclip

    • Create a spinner with a variety of questions with just a piece of paper and marker.

      Make it basic and to the point:

      • What was the setting?

      • Who were the characters?

      • What happened in the story?

        Make it more complex:

        • Write three sentences about the problem and how it was solved

        • If you could change the ending, what would it be?


Inferencing Activities

Inferencing is one of the most difficult comprehension skills to grasp for children at all ages. There are ways to build comprehension that can be fun and silly using simple things around the house.

Use Magazines and Media

  • Put those magazines to good use! Magazines are full of toys, things to buy, food, movies, etc. This is a fun way to approach inferencing at home. Flip to a page and ask your child to guess what the item is based on the information given. Here are a few examples of things you may see:

    • Electronics Section

      • I have buttons you press. You use me to add, subtract, multiple and divide. You can keep me at home or at school. (calculator)

      • I am small. Many people have me. You use me to make calls and text. (phone)

    • Toy Section

      • I am something you use outside. I have four, small wheels. You stand on me and use your foot to make me move. (skateboard)

      • I am a toy that goes on a track. You can ride me to go to different places. I stop at stations. (train)

Inferencing Bingo

  • Create bingo boards with different items, animals, activities, etc.- rather than saying the name of the items, describe them and have your child infer what you are talking about.

What’s in the Bag?

  • This silly game goes a long way! You can turn this into your own version of charades. Have a bag of a variety of different items around the house and describe it. See how many you can get in one minute!

Navigating E Learning

farp%2Csmall%2Cwall_texture%2Cproduct%2C750x1000.jpg

Hello All,

During this scary, unprecedented time, please know that L&S is here to support you and your families. We know that navigating a world of online learning takes a toll on parents and children. Be kind to yourselves. You are doing the best you can.

L&S is continuing to serve clients via Skype, Zoom and FaceTime sessions, to provide academic and executive functioning assistance. While schools are closed, it is important to assist children in their organization, attention, time management, but most of all, help them persevere to remain positive, and do the best they can.

We will be creating E Learning blogs to better support you with fun and engaging academic activities that you can access from home. We will also be providing videos and opportunities for Q and A’s via Zoom. More information on this will be provided through our instagram.

If you have any questions or would like additional supports or ideas for your child, please email us directly or through our submission box on our website.

Please stay safe, stay healthy, and stay positive!

All our love,

Leyla and Sarah

TIPS FOR TEST TAKING

“Believe that you can and you are already half way there!”

Has your child ever felt overwhelmed or anxious around test taking and/or studying for a test? If the answer is yes then continue reading! 

Here are 4 tips that can help make studying a little easier!

1.Making a plan
Before beginning to study for a test it is extremely helpful to come up with a specific study plan! Your study plan should be geared toward your own learning style. Questions that one should ask themselves before studying are : how many hours a day will do I study for? What is the most challenging part of learning the material?  What materials will I need in order to study? what environment do I learn best in?

Unknown.jpeg

2.Time Management
Time Management is a very crucial component when it comes to studying for a test. When studying for a test it can be a draining and overwhelming process, so learning how many minutes your brain can truly absorb information before needing a break is key! One can do this is by using a timer, and testing out how many minutes you can take in information before your brain starts to tire out. Once your brain begins to tire that when you know it’s time for a break! While taking a break it’s important hydrate, stretch, and reset your brain for 5 to 10 minutes before studying again. 

Unknown 10.21.54 AM.jpeg

3. Positive affirmations

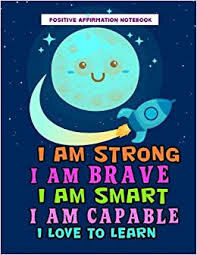
Positive affirmations and self talk can go ALONG way when studying for a test. Positive affirmations helps to encourage motivation, and improves our attitudes about how we look at scary tasks! The power of self-talk also helps us to cope with stress, which can then help us to work through challenges (like studying for a test). Some positive affirmations that I find to be helpful are “I control my stress, my stress does not control me” and “I am competent and believe in my abilities.” Try making some of your own too, and say or write them down before you studying :)
Unknown 10.49.02 AM.jpeg

4. Organization

Organization is highly important when studying for a test because it helps to reduce anxiety and stress! Ways to keep organized are: use different binders and notebooks for each class, date the topic of class notes and discussion so it’s easy to go back and pinpoint information, organize your workspace, use color coded flash cards, and remember to breath!
Unknown.jpeg

(Homework) Planning Makes Perfect!

“Time goes by fast when you’re avoiding homework.”

Is homework a dreaded couple of hours in your home? Are you constantly battling with your child to finish homework? Are you receiving emails from teachers about missing and late assignments? Follow these steps and together let’s make homework easier!


1. Plan for the Short Term

Not everyone benefits from monthly calendars or the beautiful planners we so quickly run to Target! Some students need their planning condensed and very focused. Planning for a single day can be difficult enough when managing and balancing multiple subjects and assignments. Start small, like having students track daily or weekly assignments on a single sheet of paper.


Screen Shot 2020-03-10 at 7.24.50 PM.png
Screen Shot 2020-03-10 at 7.34.04 PM.png
Screen Shot 2020-03-10 at 7.31.26 PM.png

2. Plan for the Long Term

Once your child has a good grasp on short term planning, start to expose them to long term planning. As adults, we are planning for the long term all the time. Adults are managing work schedules, sports schedules, doctors appointments, weddings, outings with friends, the list goes on. Adults understand the importance of long term planning, but kids have a more difficult time seeing the big picture. As you encourage your child to create monthly plans or calendars, start by incorporating extra curricular activities or events meaningful to them and then build onto homework assignments, quizzes and tests.

Screen Shot 2020-03-10 at 8.07.12 PM.png

3. Create a Routine

I know we are constantly preaching, “practice makes perfect!”, but it cannot be emphasized enough. It may take time to turn daily, weekly or monthly planning into a habit. It takes repetition, follow through and all hands on deck. Find a designated time each day or week to review your child’s planner. This will help hold your child accountable as well as develop a habit/routine when planning.


4. Open Communication

Often times, kids get away with not doing homework because parents do not have a way of knowing assignments given by teachers. Parents will check in after school and can hear responses like, “I did it!”, “we don’t have any homework tonight”, or “I completed it in study hall!”. All of these sound like (and can be!) completely accurate responses, but sometimes it’s not the case. How can you help while still promoting independence? Here are some ways:

  1. Check the school or teacher’s online portal

  2. Email teachers with questions

  3. Request a syllabus for home

  4. Teach your child how to plan

  5. Check in with your child daily or weekly

Independent Math Tasks for All Levels

Promoting Independence in the classroom is one of the most important goals. Independent centers and tasks should be tailored to the child’s individual levels and goals. If an activity is too difficult and unattainable to the child, you will most likely start seeing off task behaviors, avoidance, and/or high levels of agitation and frustration. 

 Like all things, independent tasks need to be taught and practiced before expecting a child to complete the activity on their own. Patience is key! It may take some time, but the benefits of an independent center are endless. 


STRUCTURE

Over the years, I have designed and observed multiple ways independent centers can be setup. You can create individual student bins that each child has access to with items at their level, you can have a center completely designated to independent work/task boxes and have each child choose what they want to do, or you can have “independent time” as a class. It’s completely up to you and what works best in your specific classroom. I found that in my classroom, my students responded best to an independent center that they checked into every day. It would look like this: 

IMG-8820.jpg

DIFFERENTIATING TASKS

In the independent center, tasks were separated into three tiers: lower level, medium level, and higher leveled tasks. The tasks were ready to go each day and already separated. 

Below are examples of leveled tasks that could be found in the independent center:

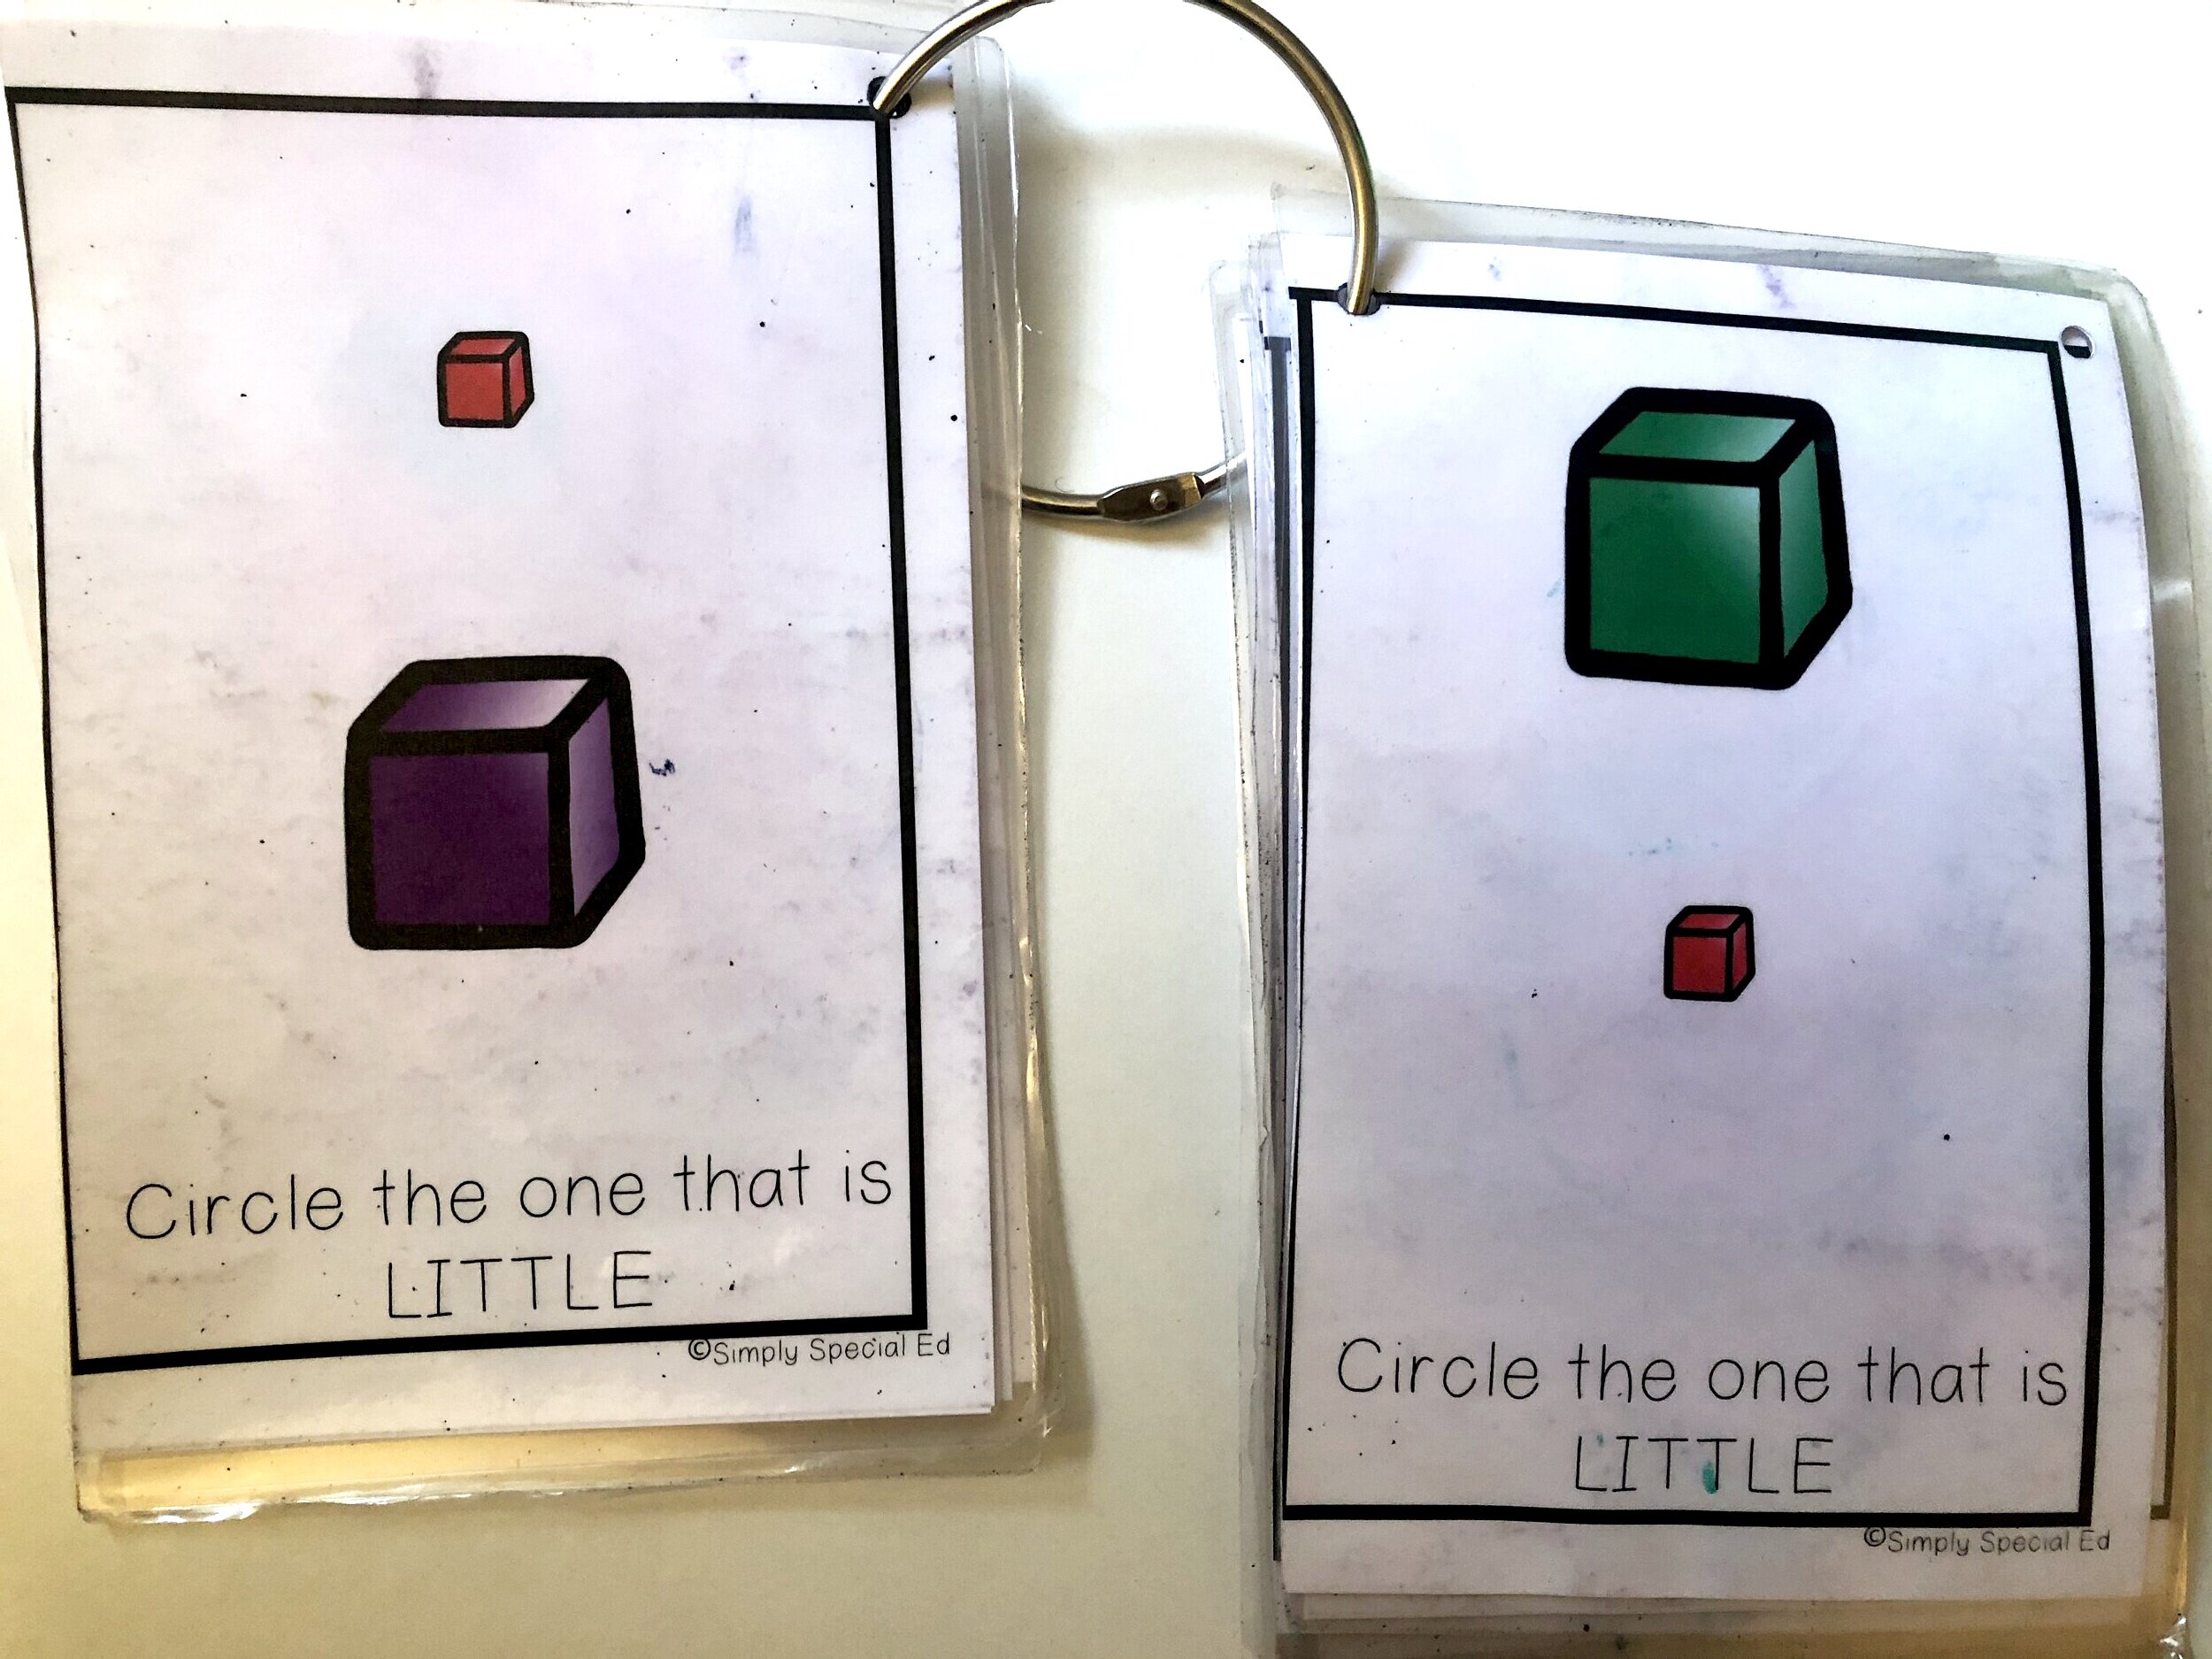
Lower Level Tasks

Matching & Color Related Activities

Matching & Color Related Activities

1:1 Correspondence Tasks

1:1 Correspondence Tasks

Counting Tasks

Counting Tasks

Basic Concept Activities

Basic Concept Activities


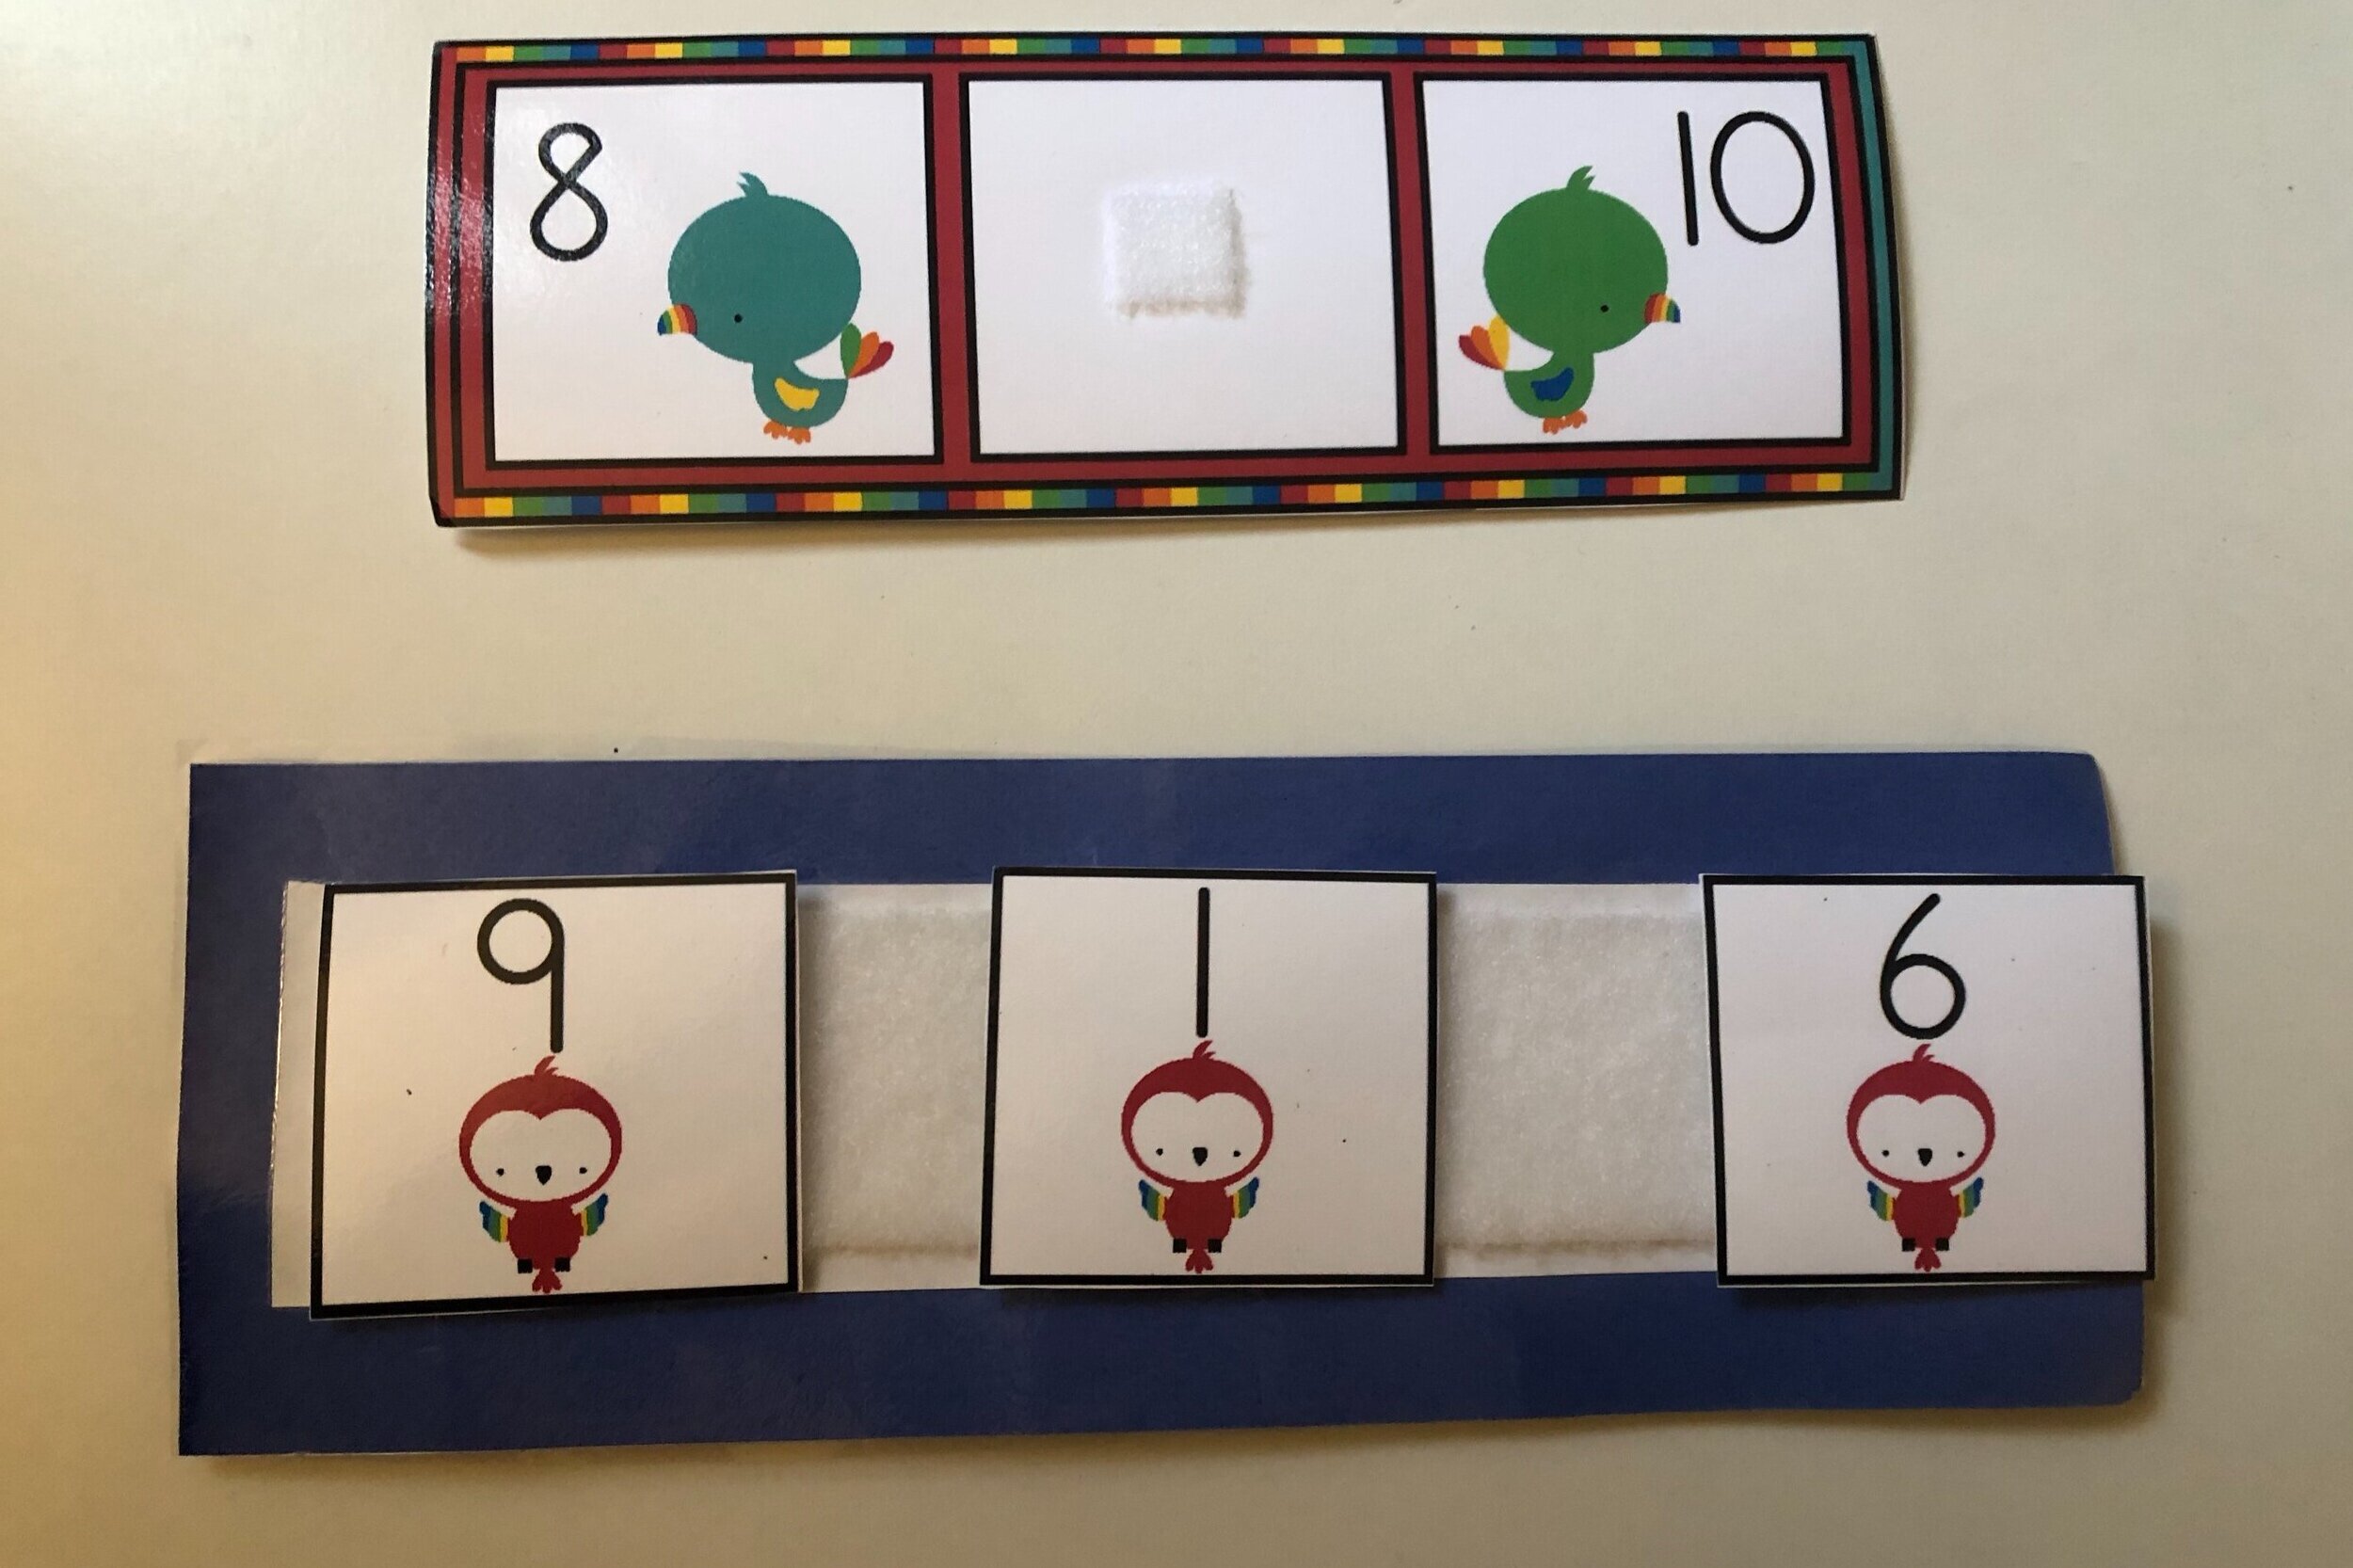
Middle Level tasks:

Sequencing Activities

Sequencing Activities

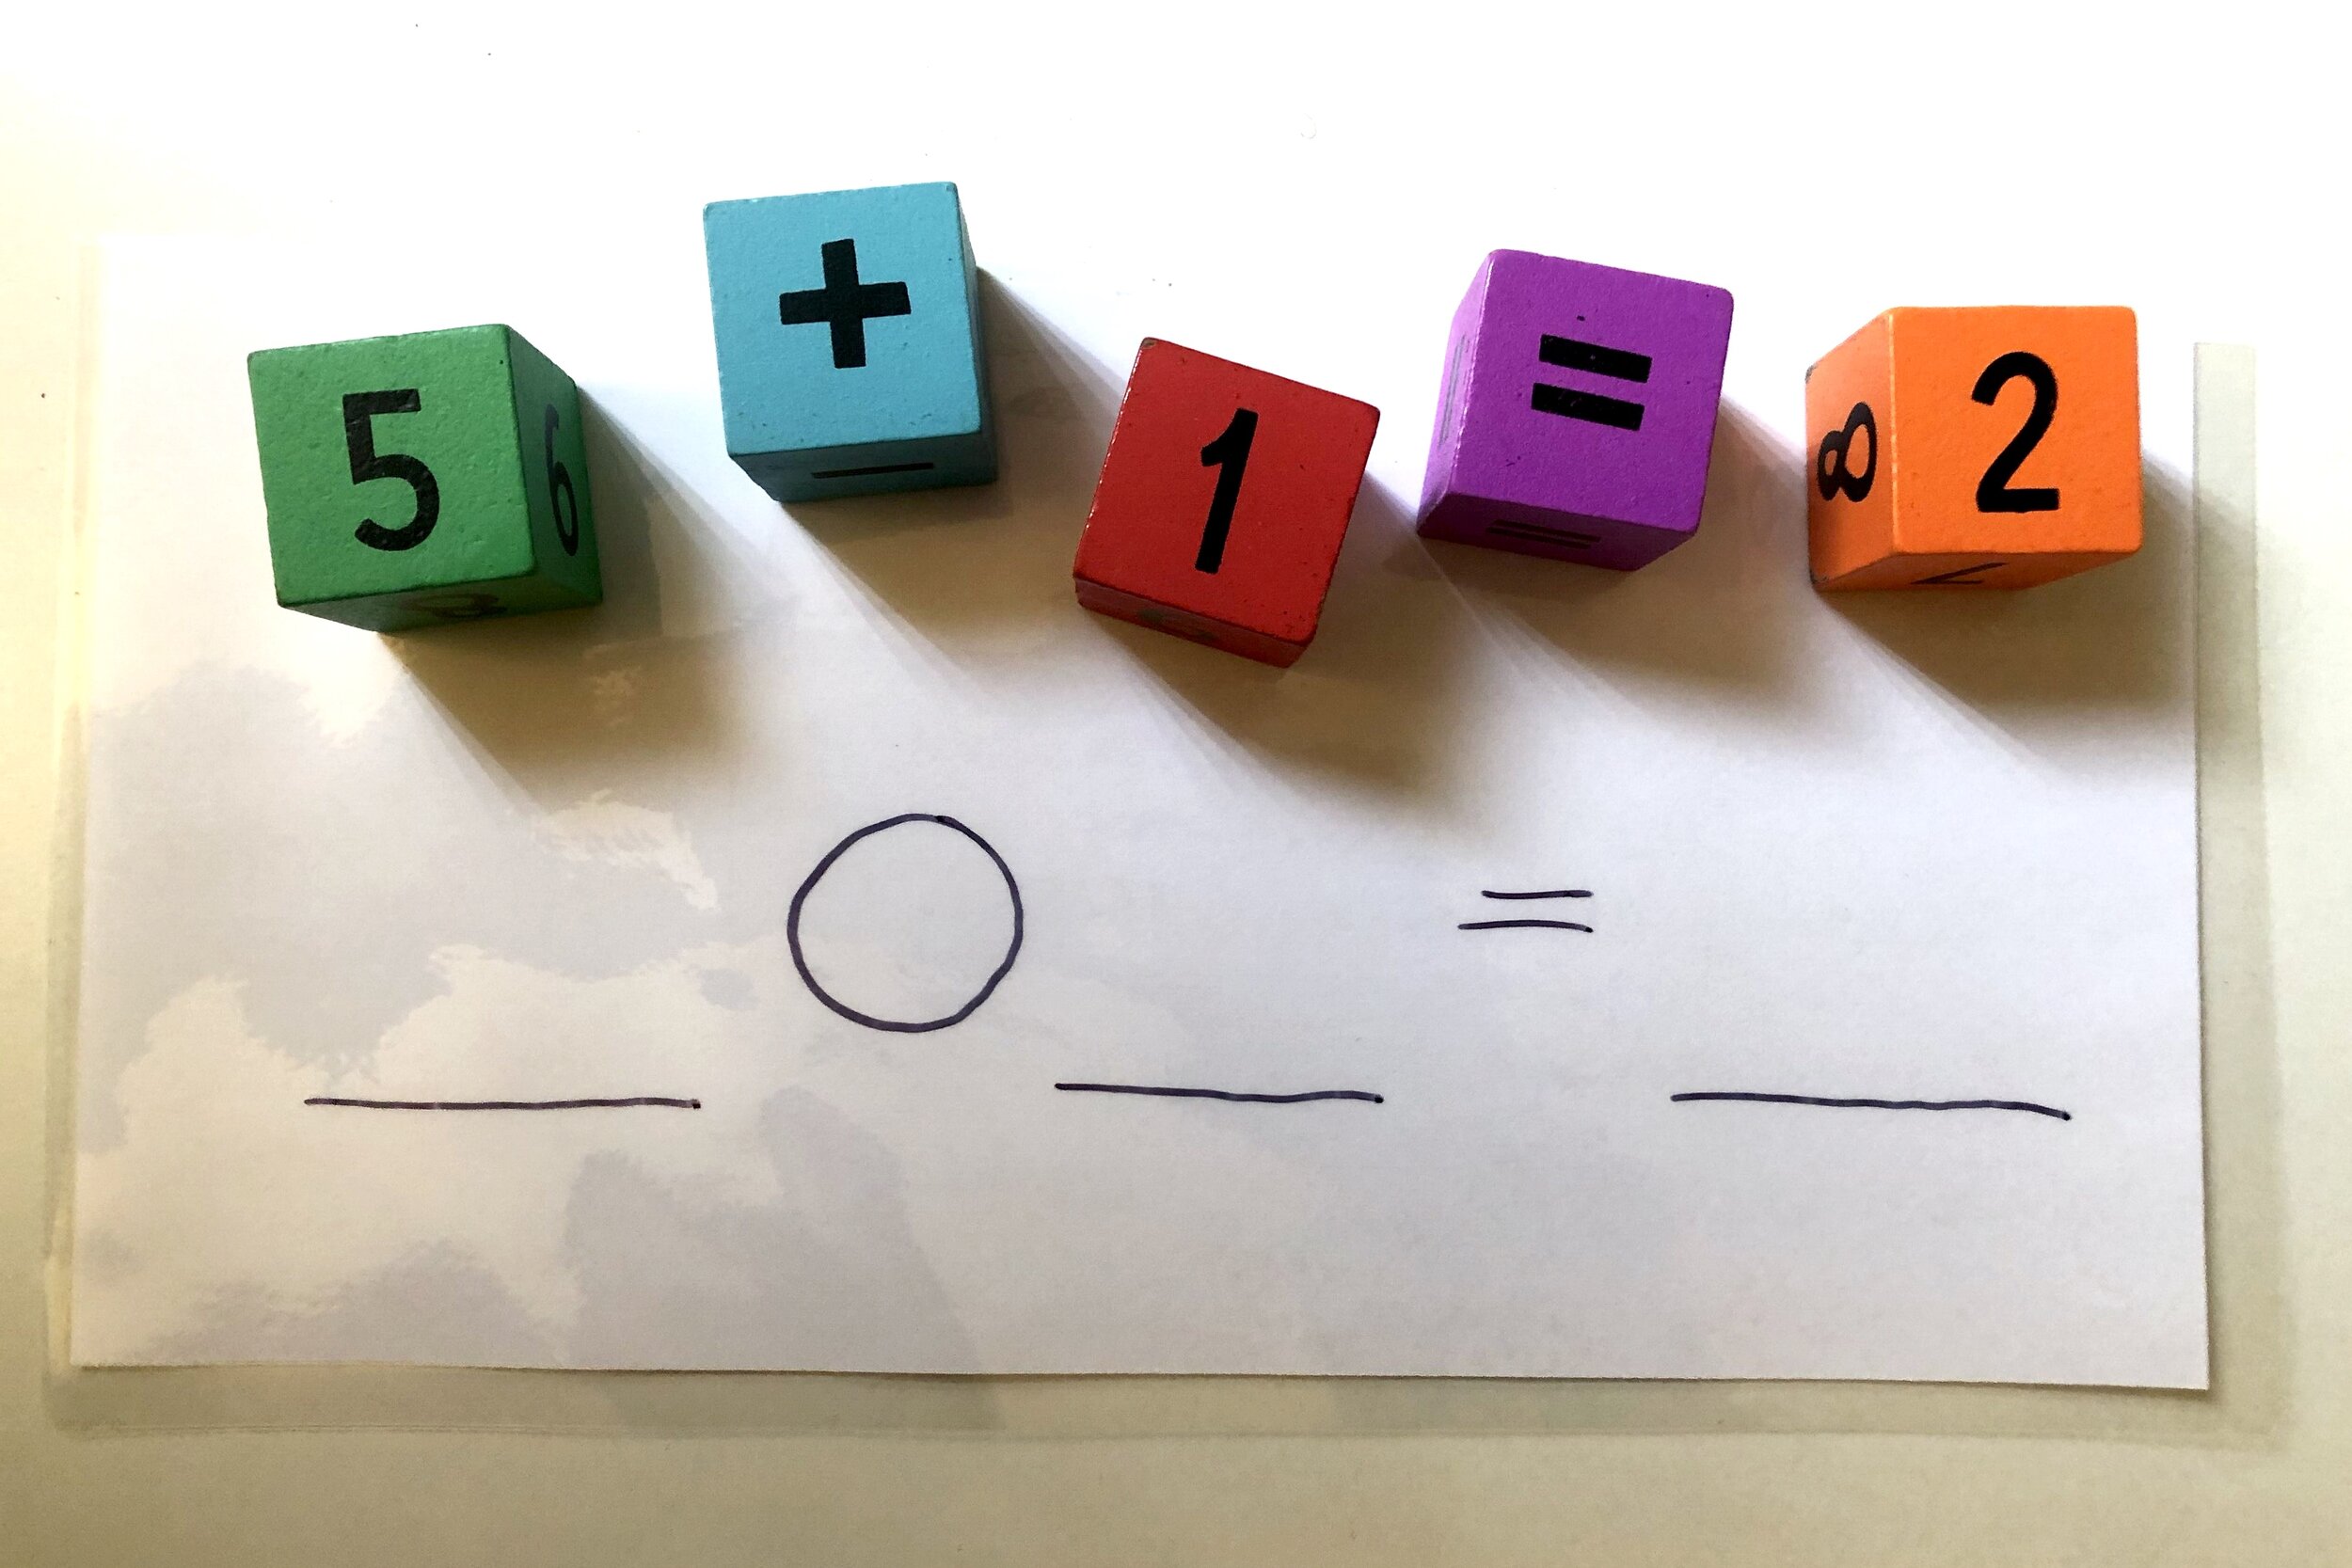
Addition and Subtraction Activities

Addition and Subtraction Activities


Higher Level Tasks

Word Problems

Word Problems

Time Tasks

Time Tasks

Multiplication/Division Activities

Multiplication/Division Activities

Differentiating -WH Questions Using One Book

“Text comprehension is a complex activity that can be overwhelming for students with cognitive disabilities. We can’t just test comprehension, we must teach it.” – Center for Literacy and Disability Studies

Comprehension is a crucial skill that is targeted in all classrooms. Answering -WH questions is key for students to be able to infer and understand all aspects of what they are reading.  Simply asking a child “Who was in the story?”, “What happened in the book?”, “Where did the story take place?” is not enough. Teachers need to provide multiple ways for students to demonstrate understanding.

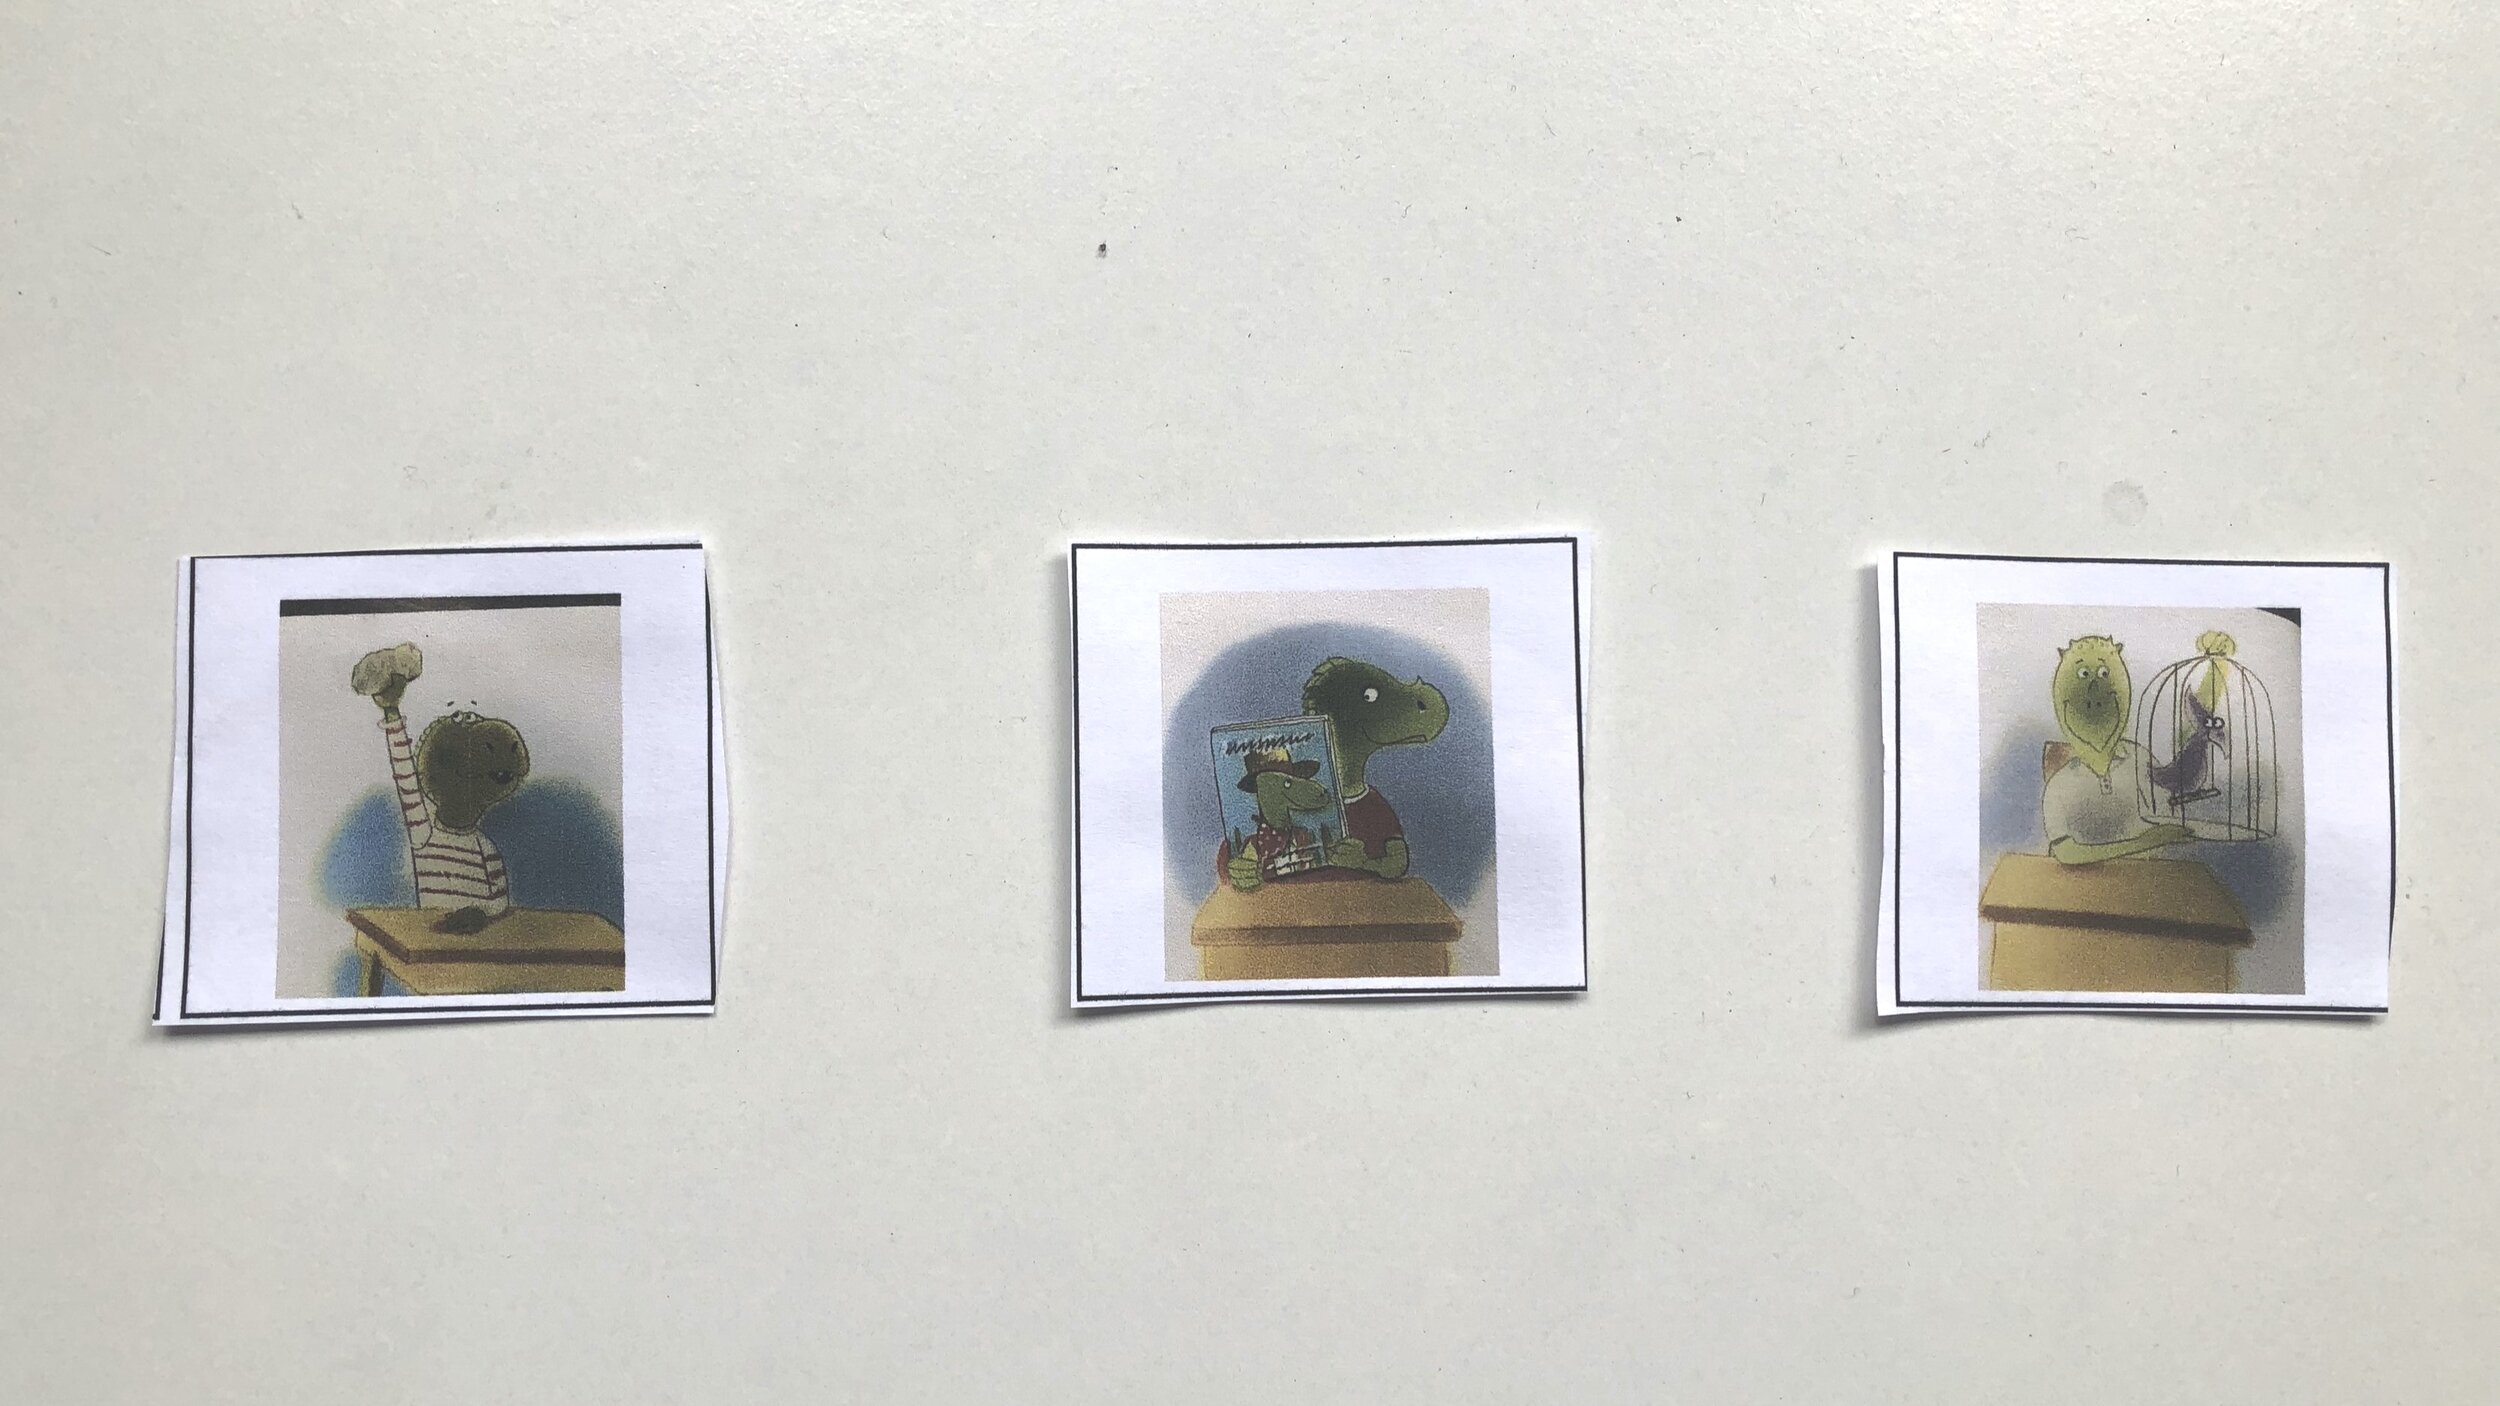
Using the book “Show and Tell”, I will demonstrate a variety of ways to assess the students given the question “What did the dinosaur show first?”

IMG-7702.jpg
IMG-7711.jpg

USE ACTUAL OBJECTS

Using actual objects during a guided reading activity provides a multi-sensory approach to learning. It allows children to explore and engage in a hands on way. The use of actual objects is a strong way to promote engagement, as well as understanding of what is being read by connecting text to real life objects.


IMG-7710.jpg

USE VISUALS FROM WITHIN THE TEXT

Providing students with actual visuals from within the text give students a concrete representation of what they just read. Children retain information through pictures and visuals more than through text. Providing visuals from within the text helps students with recall and comprehension.


IMG-7712.jpg

USE PICTURES

Take it one step further. Provide students with visual supports using real life items, internet pictures, clipart, etc. Visuals are still used to assist with recall and comprehension, but also shows that the child is able to generalize and make connections.


IMG-7713.jpg

ELIMINATE VISUALS

Next step- eliminate visual cues! By eliminating visual supports and only giving the student 3 options, the student no longer has a picture or visual to assist in recalling what was read. Once the student is able to recognize the words without the visuals it shows they have a deeper knowledge of comprehension.


EXPRESSIVE RESPONSE

Simply asking a student “What happened first?” and eliminating all supports is the most challenging way to assess a child.

Making IEP Data Collection Manageable

With the holidays coming to an end, teachers are reflecting on how to come back from break fixing the kinks in the classroom. Data collection is constantly the beast in the room! Teachers and related services providers are managing and taking data constantly: IEP goals, FBA’s, common assessments, formal assessments, functional skills, communication goals, the list goes on. It feels nearly impossible to keep track of everything but can be manageable with a plan! 


IEP at a Glance in the beginning of each binder

IEP at a Glance in the beginning of each binder

KEEP EVERYTHING IN ONE PLACE

Most of us can admit that the hardest part of data collection is keeping track of all the data. Post it notes, clip boards, assessments, etc. all in different places made it impossible to assess progress. I found that the most effective and efficient way to manage each student’s IEP data was through IEP binders. Each child had their own binder accessible to all adults in the room. In each binder was the child’s IEP at a glance, their ready to go data sheets and assessments. These binders made it easy and accessible for related service providers, outside therapists, and classroom aides to quickly grab as needed. 


IMG-7993.jpg

SIMPLE, TO THE POINT DATA SHEETS

The more basic the data sheets, the better! Not only does this help you keep track of all goals needed to be worked on, but it is straight forward to anyone who takes data. I struggled with this quite a bit and found the more complicated my data sheets were set up; the less data was collected. A simple +/-, Y/N, and few anecdotal notes go a long way! 


QUICK ASSESSMENTS

Within each IEP binder, create quick assessments relating to each goal. These should be all ready to go so you can take data any time you have the chance. All you need to do is grab a binder, flip to the page, and start assessing. 

IMG-8004.jpg
IMG-8002.jpg

ALLOTT DESIGNATED TIMES TO TAKE DATA

As teachers, we all know that no matter how much we organize for the week, it never goes as planned! We are constantly changing lessons, modifying plans, reteaching, etc. I can’t tell you the number of times I would find myself struggling to get student data. I found that if I held myself accountable to one day a week, it was so much easier to get done. Every Friday I allotted time in my schedule to collect data on the student’s academic IEP goals. 

Sight Words & Fluency

“ First we learn to read, and then we read to learn”

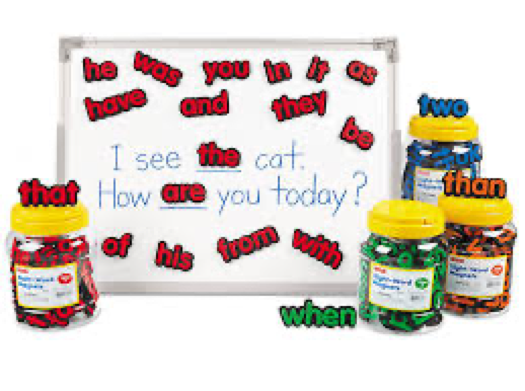
Sight words are a key component when it comes to reading fluency. This is mainly because when your child starts learning to read OR when your child is starting to read more advanced texts, it is crucial that they know their sight words before having to sound out CVC (Consonant, Vowel, Consonant) or multi-syllabic words. This helps reduce frustration and low self- esteem when reading and increases speed!


MASTERING SIGHT WORDS

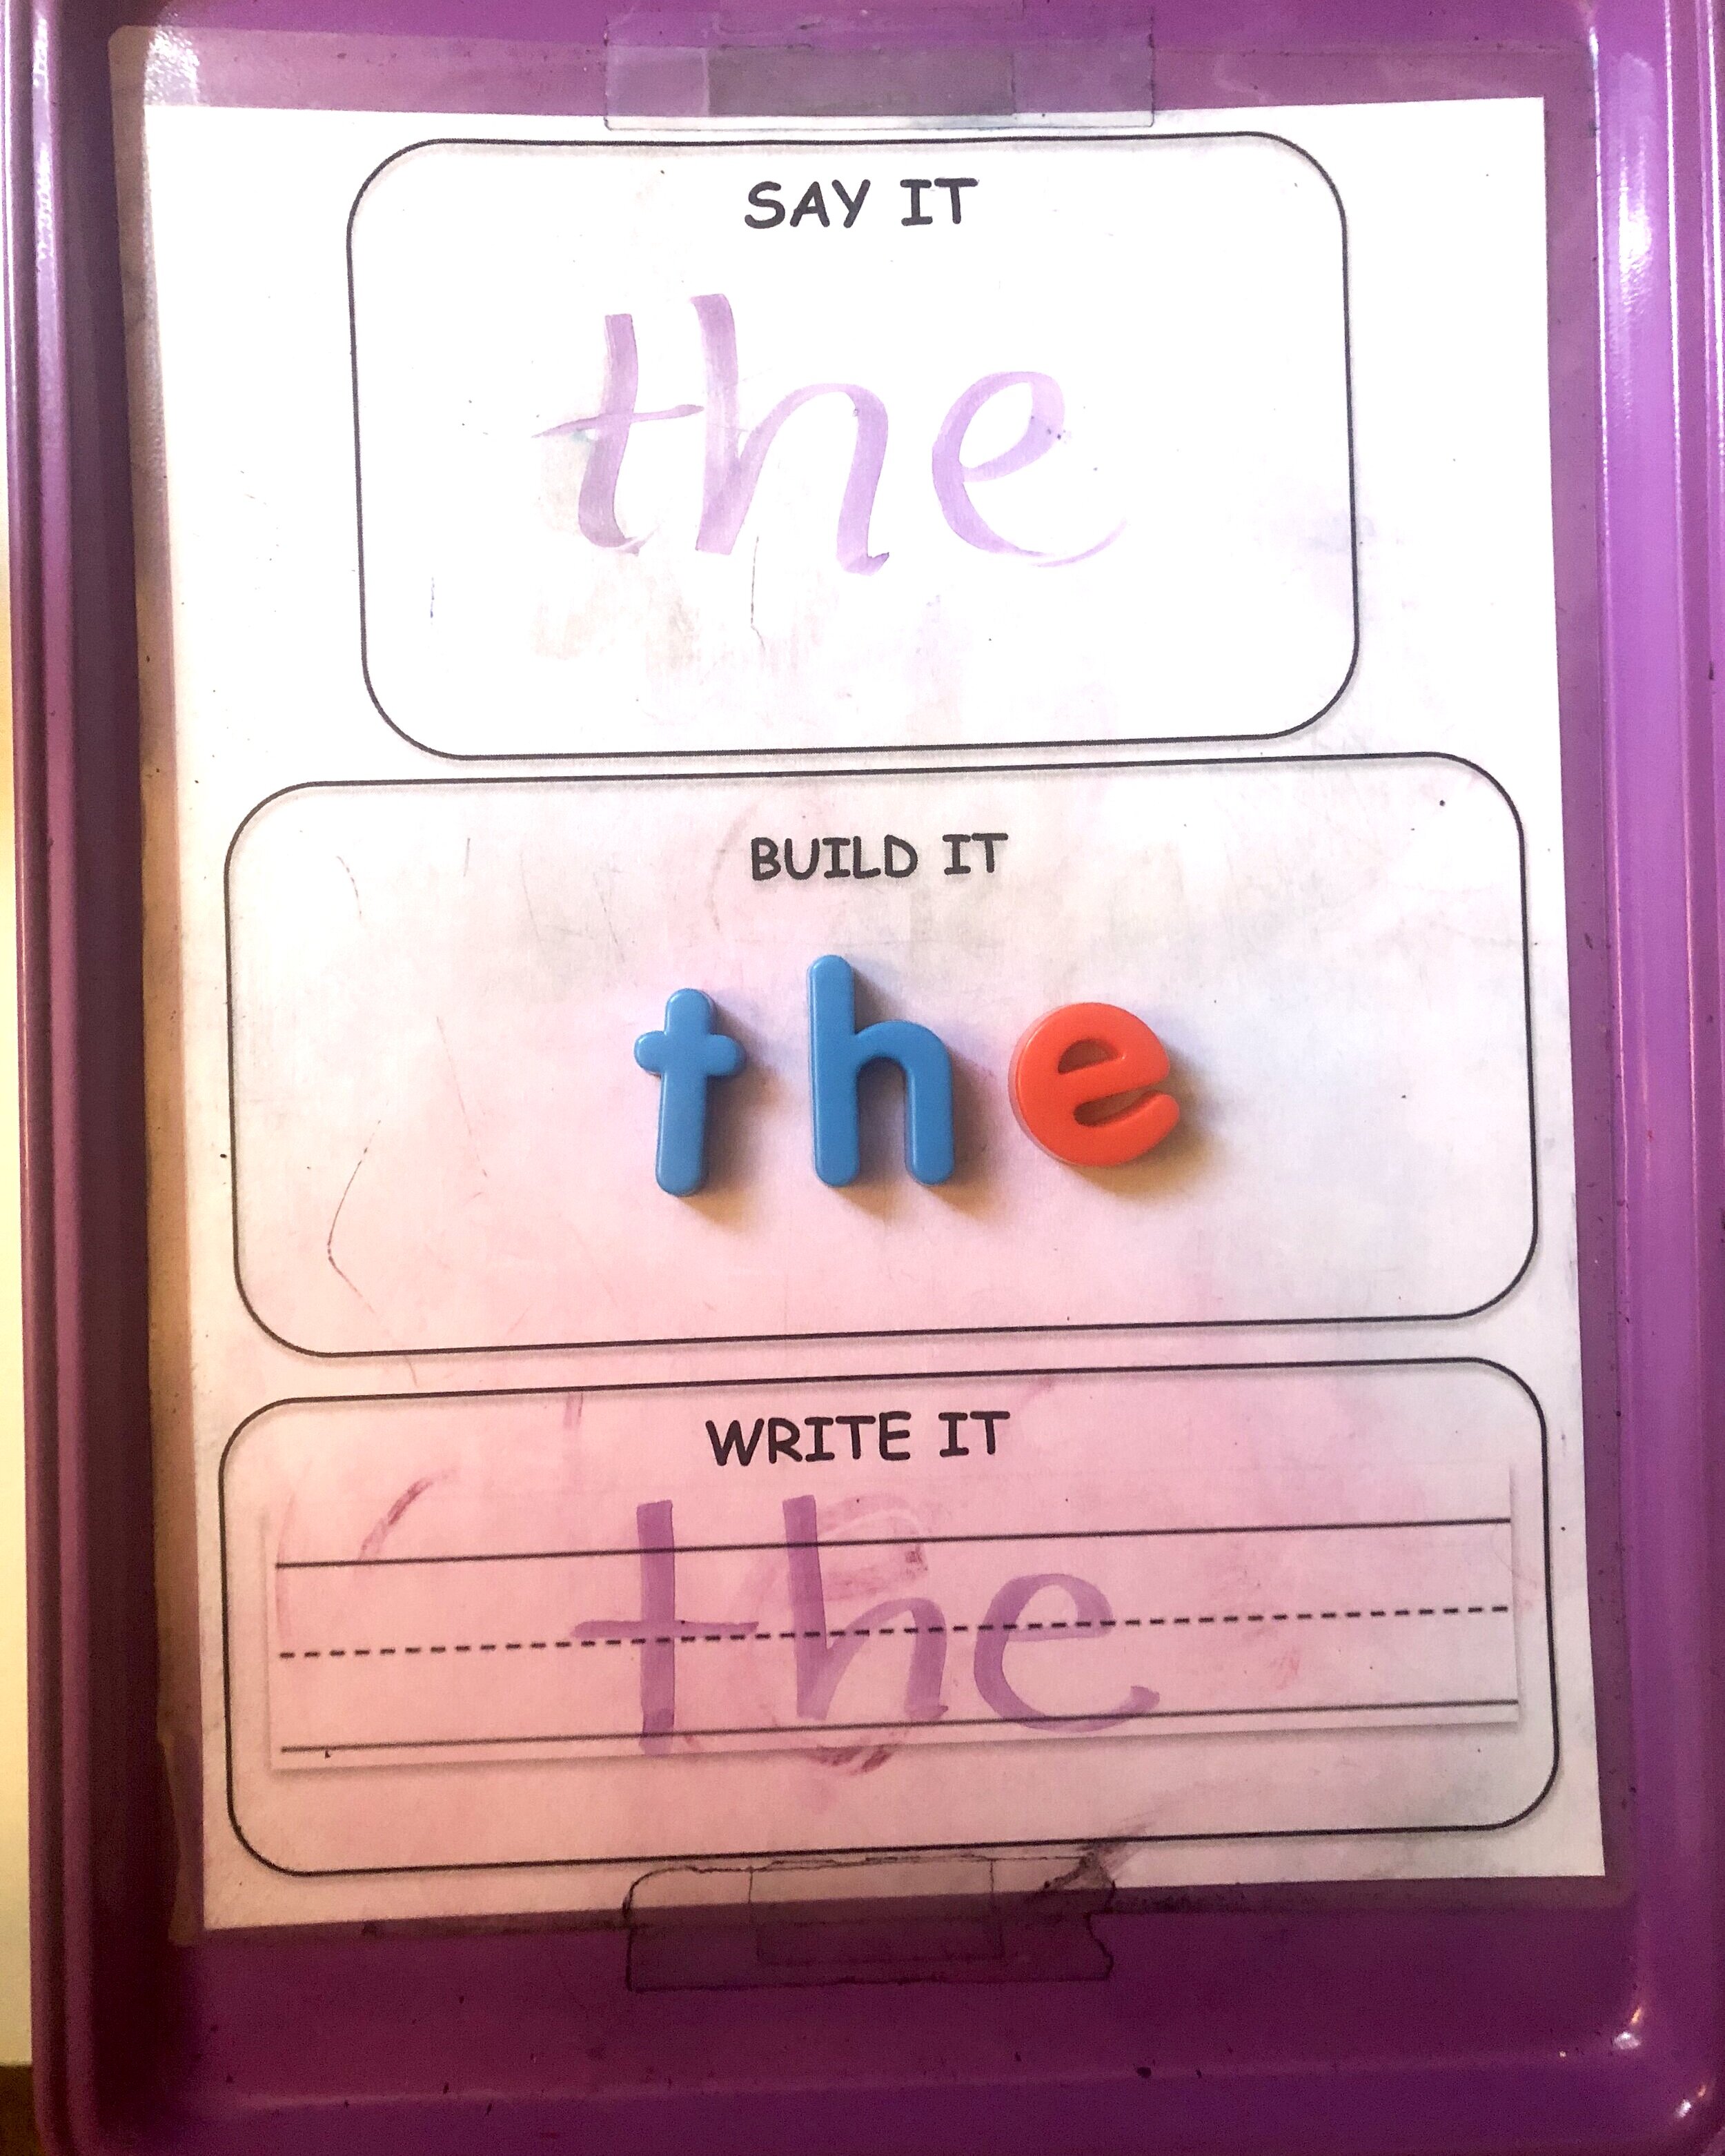
Practice, Practice, Practice! We can’t stress enough that consistency, practice, and repetition are the best and most effective ways for your child to retain the information they are learning. Learning new information, sight words included, should always be taught in stages.

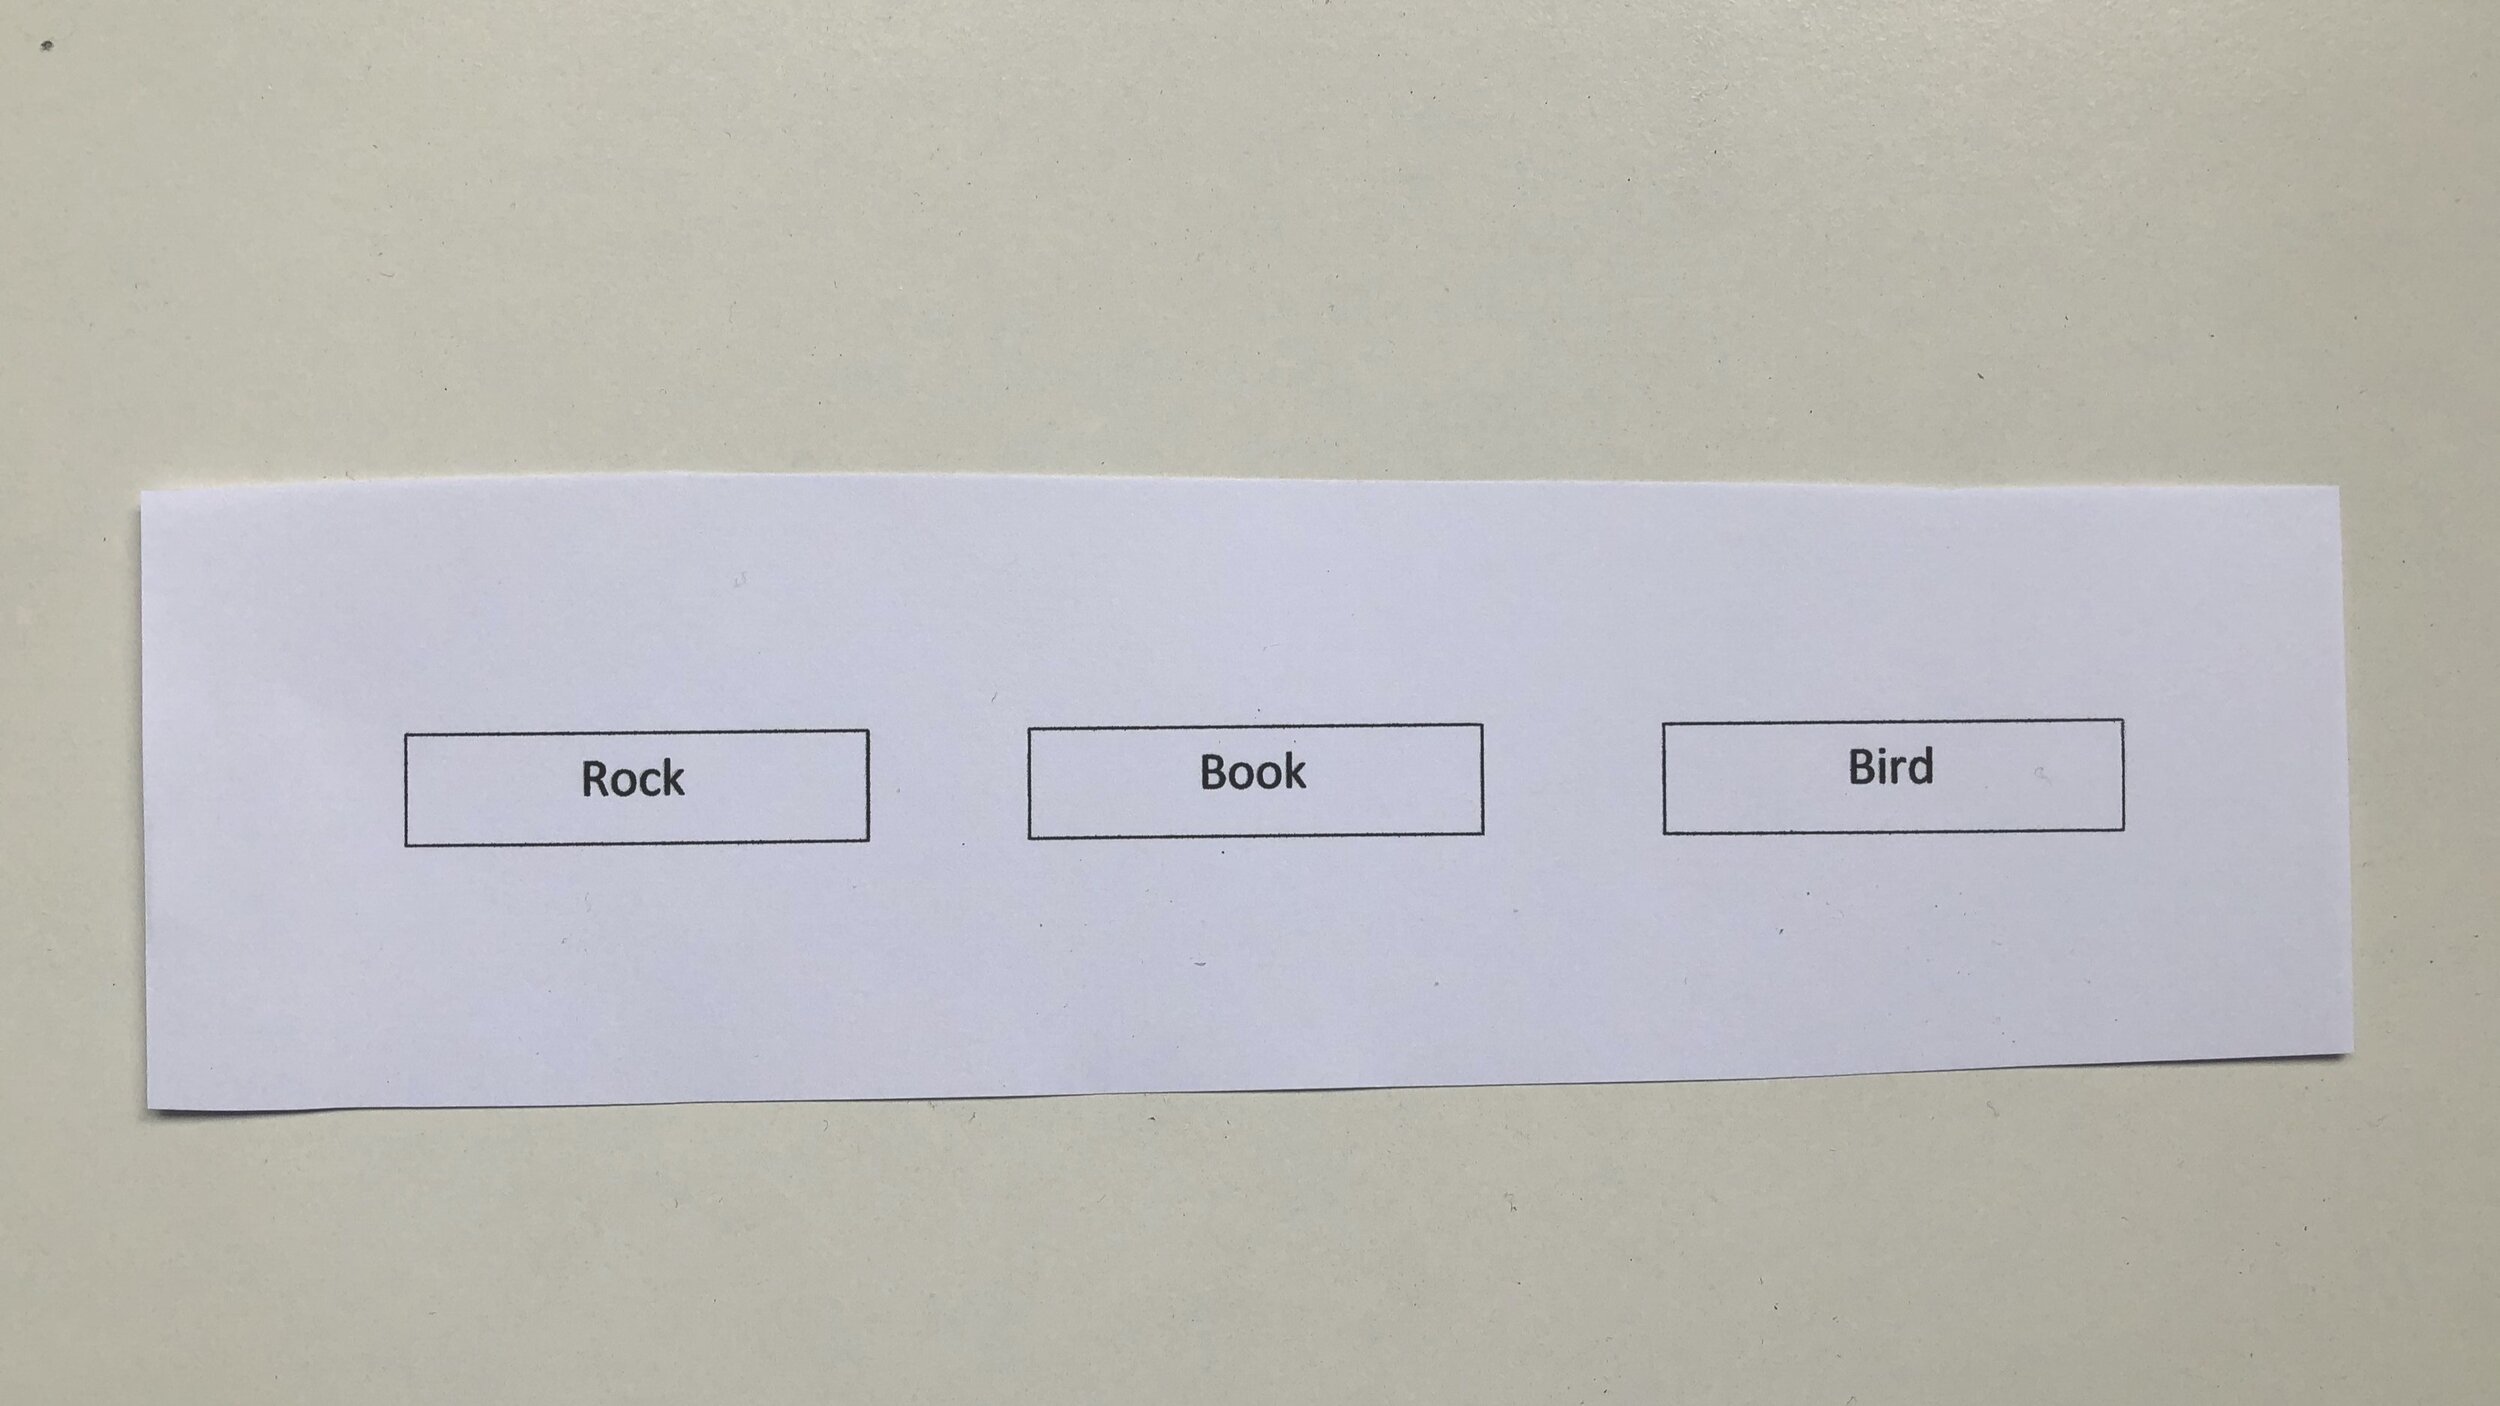
IMG-7963.jpg

  • Stage One- Introduce the Sight Words.

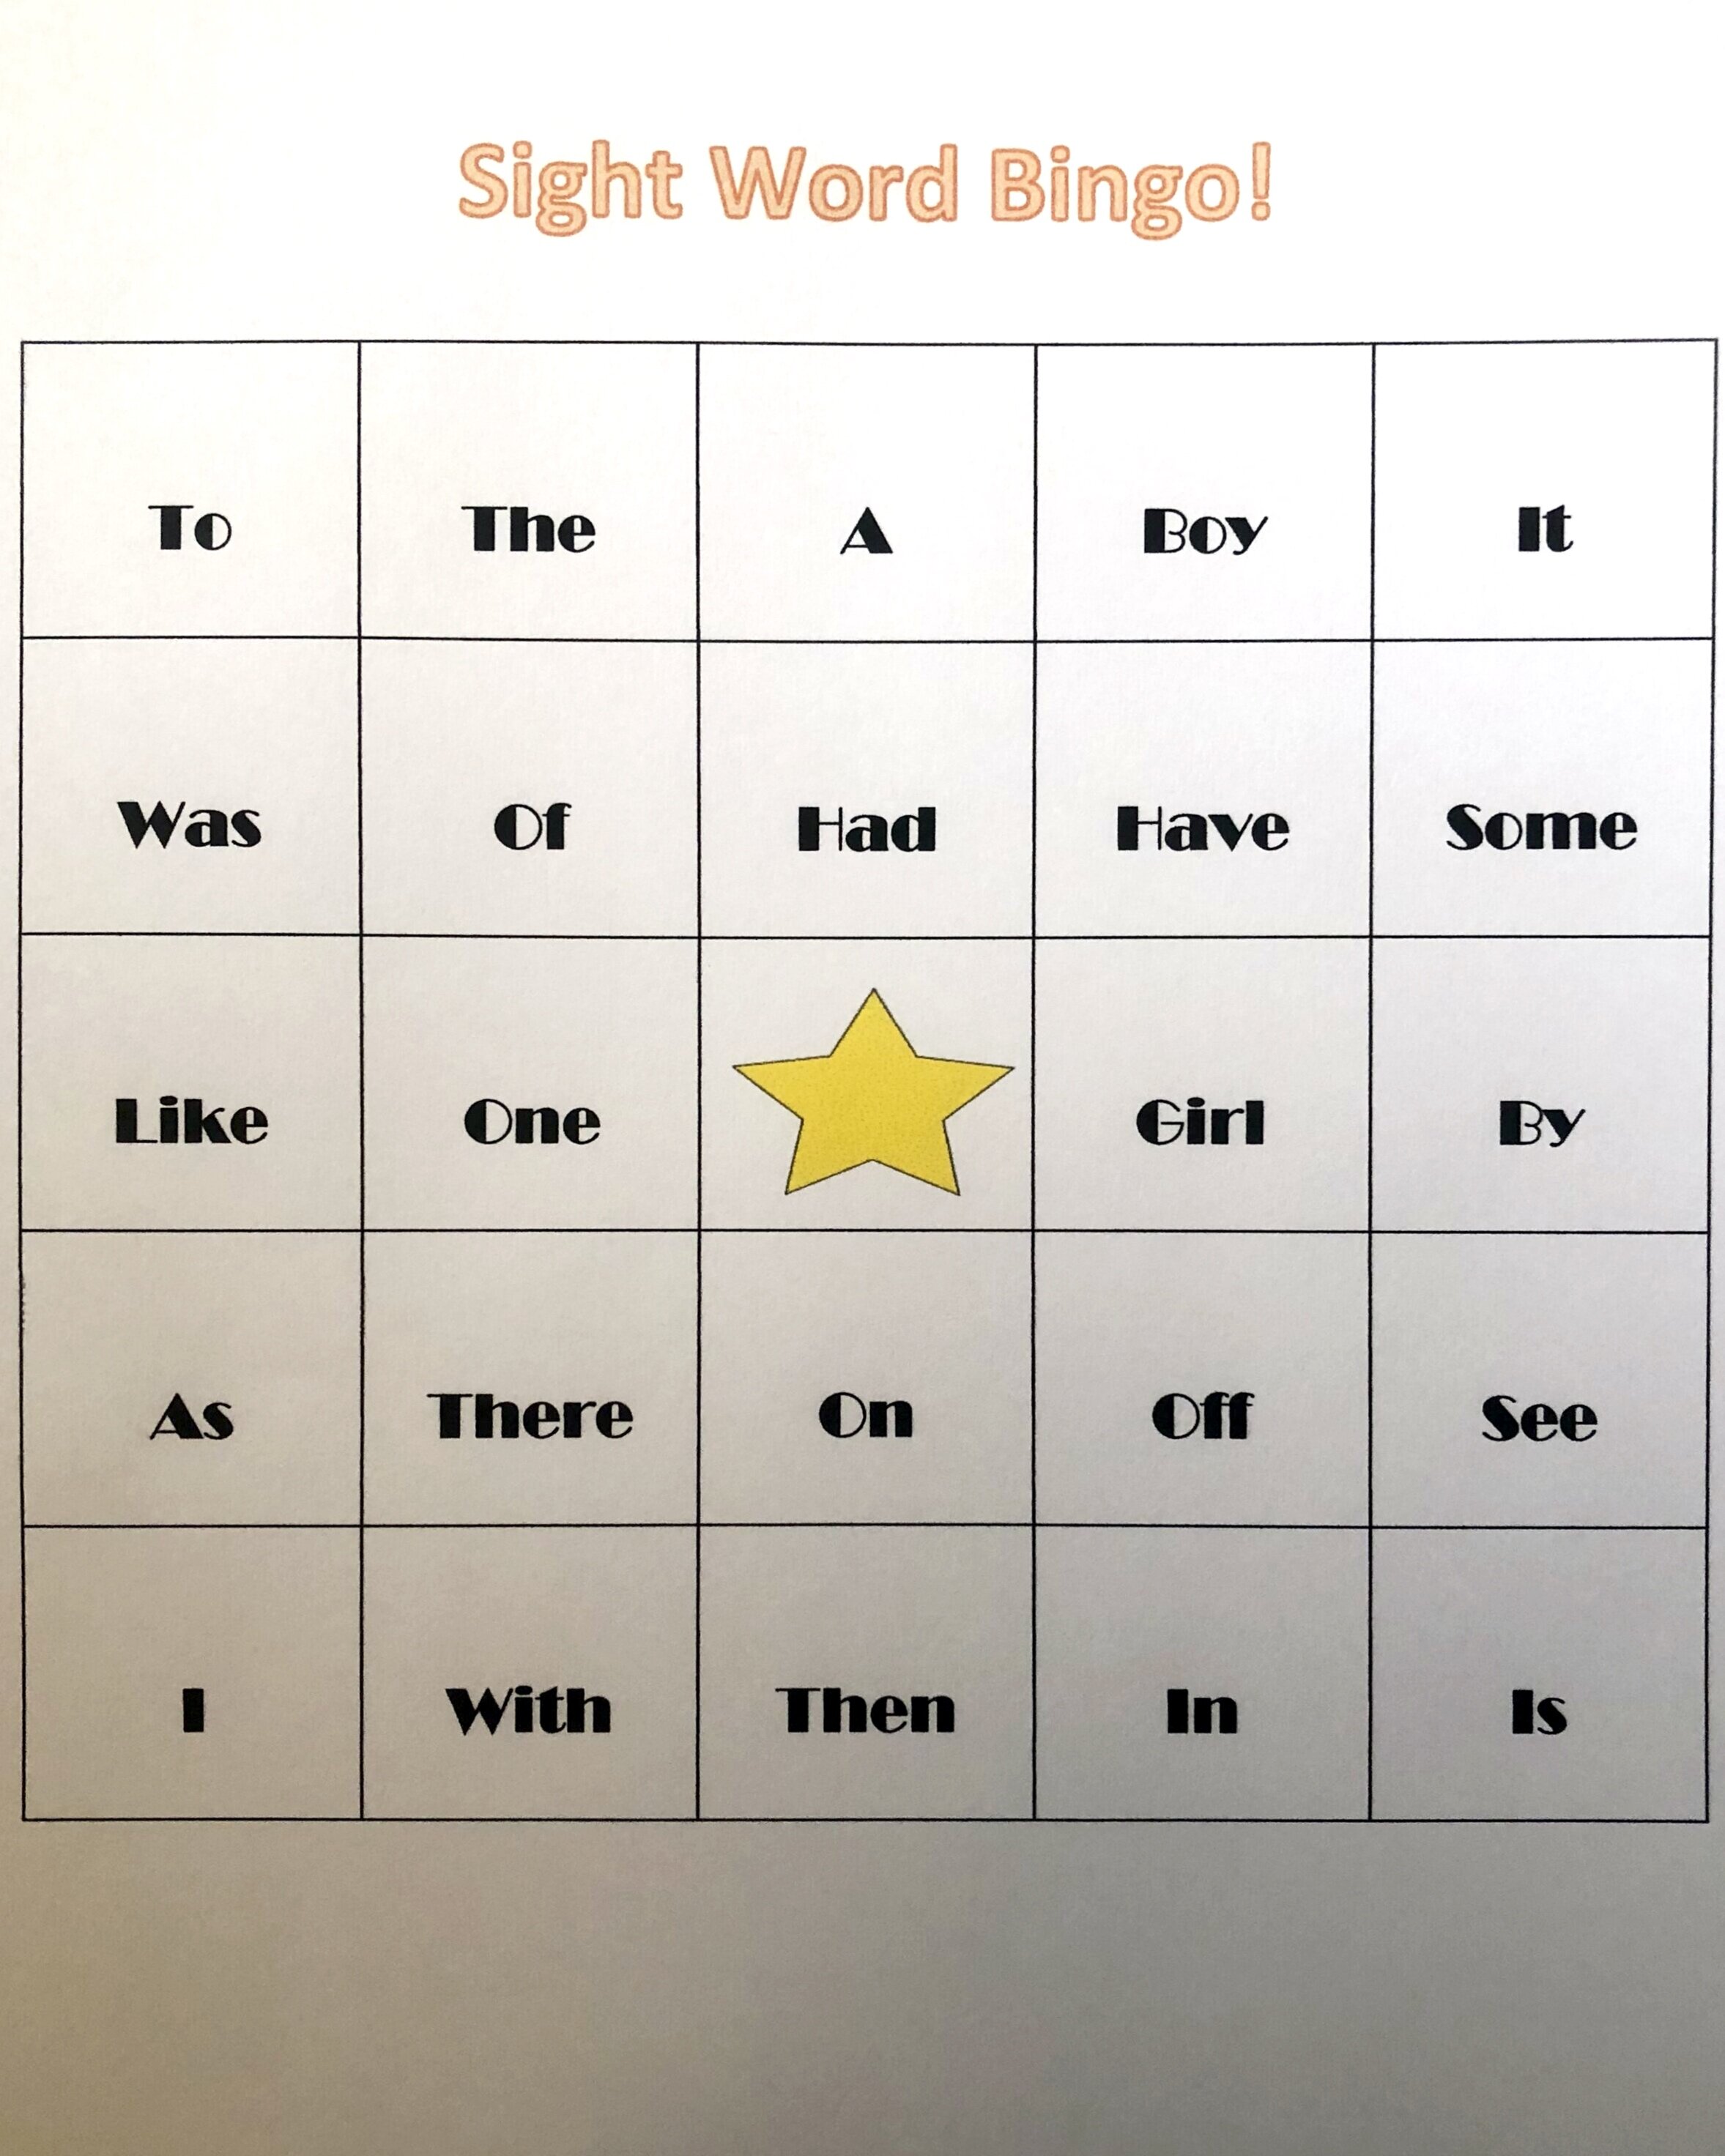
    This can be done using homemade or store bought flash cards. Typically teachers recommend working on 10 words at a time. This number is at your own discretion and should be based on individual needs. Make this part fun and turn it into a matching game, sight word bingo, sight word attack, etc. Take turns with your child so they can hear how the sight words are said while identifying and saying the word themselves.

IMG-7966.jpg
IMG-7962.jpg

sightword.png

  • Stage Two- Simple Sentences.

    Once your child has mastered their sight words, the child should start reading the sight words within simple sentences. If extra scaffolding is needed, provide a word bank and have the child plug the sight words into the appropriate sentences.


IMG-7967.JPG

  • Stage Three- Reading Books!

    After the child has mastered their designated sight words in isolation and within simple sentences, it’s now time for reading! When choosing the best books for each child, make sure the books are at their individual level and include the words practiced.


SCANNING SIGHT WORDS BEFORE READING

When your child begins to read any text, it is important to scan the book prior to having him or her dive right in. The reason for this is so that they can become more familiar with high frequency words in the text. Ultimately this will minimize their time trying to sound out every word and lead to increased reading frequency!

Pictur.png

Make Counting Fun!

So often, we are asked questions like “Why is it so much harder to teach math than reading?”. Math is a very abstract subject. During reading activities, students are constantly relating real life experiences to the text, but with math it’s a little more difficult. So how do we get students engaged in math? 

Tailor the Activity to the Child’s Individual Interests

Counting can be extremely redundant! It is difficult to sustain a child’s attention when they are not interested in the activity. Who really wants to stare at numbers all day?! Not me! Something as simple as incorporating numbers into the child’s interests can make all the difference!  

Counting trucks, police cars, etc.

Counting trucks, police cars, etc.

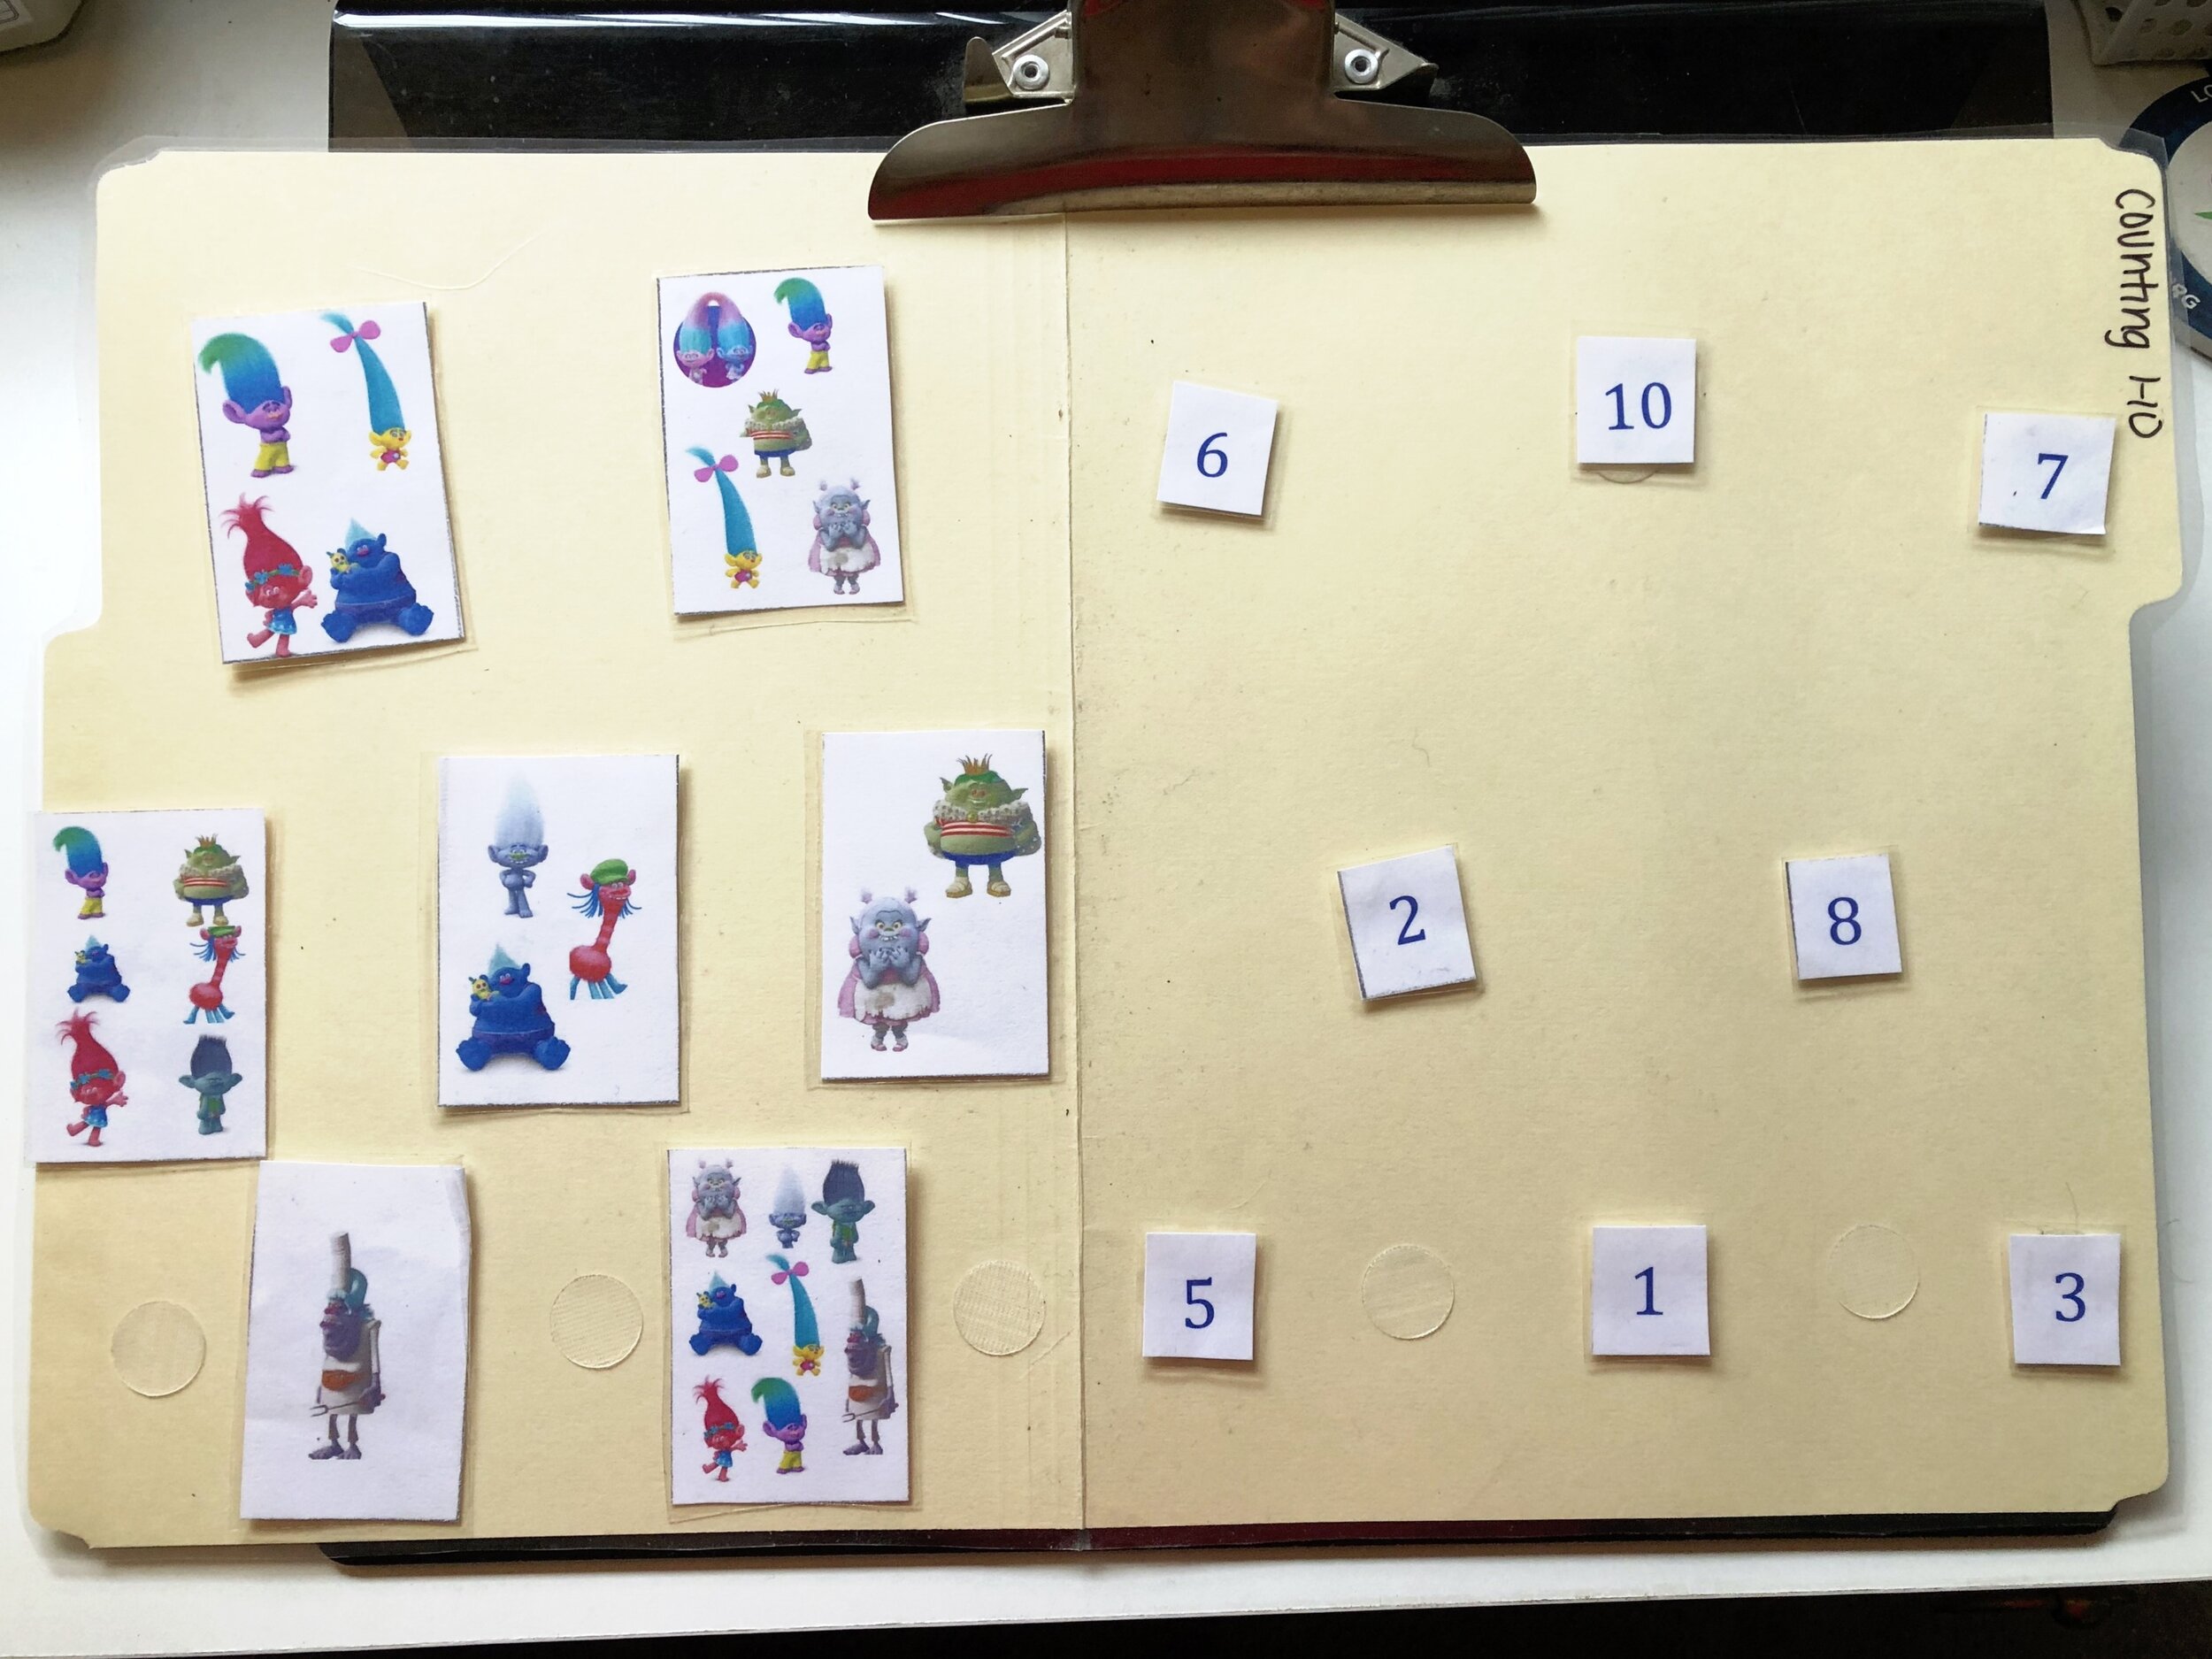
Using Trolls characters to help with counting.

Using Trolls characters to help with counting.


IMG-7765.jpg

Use Food

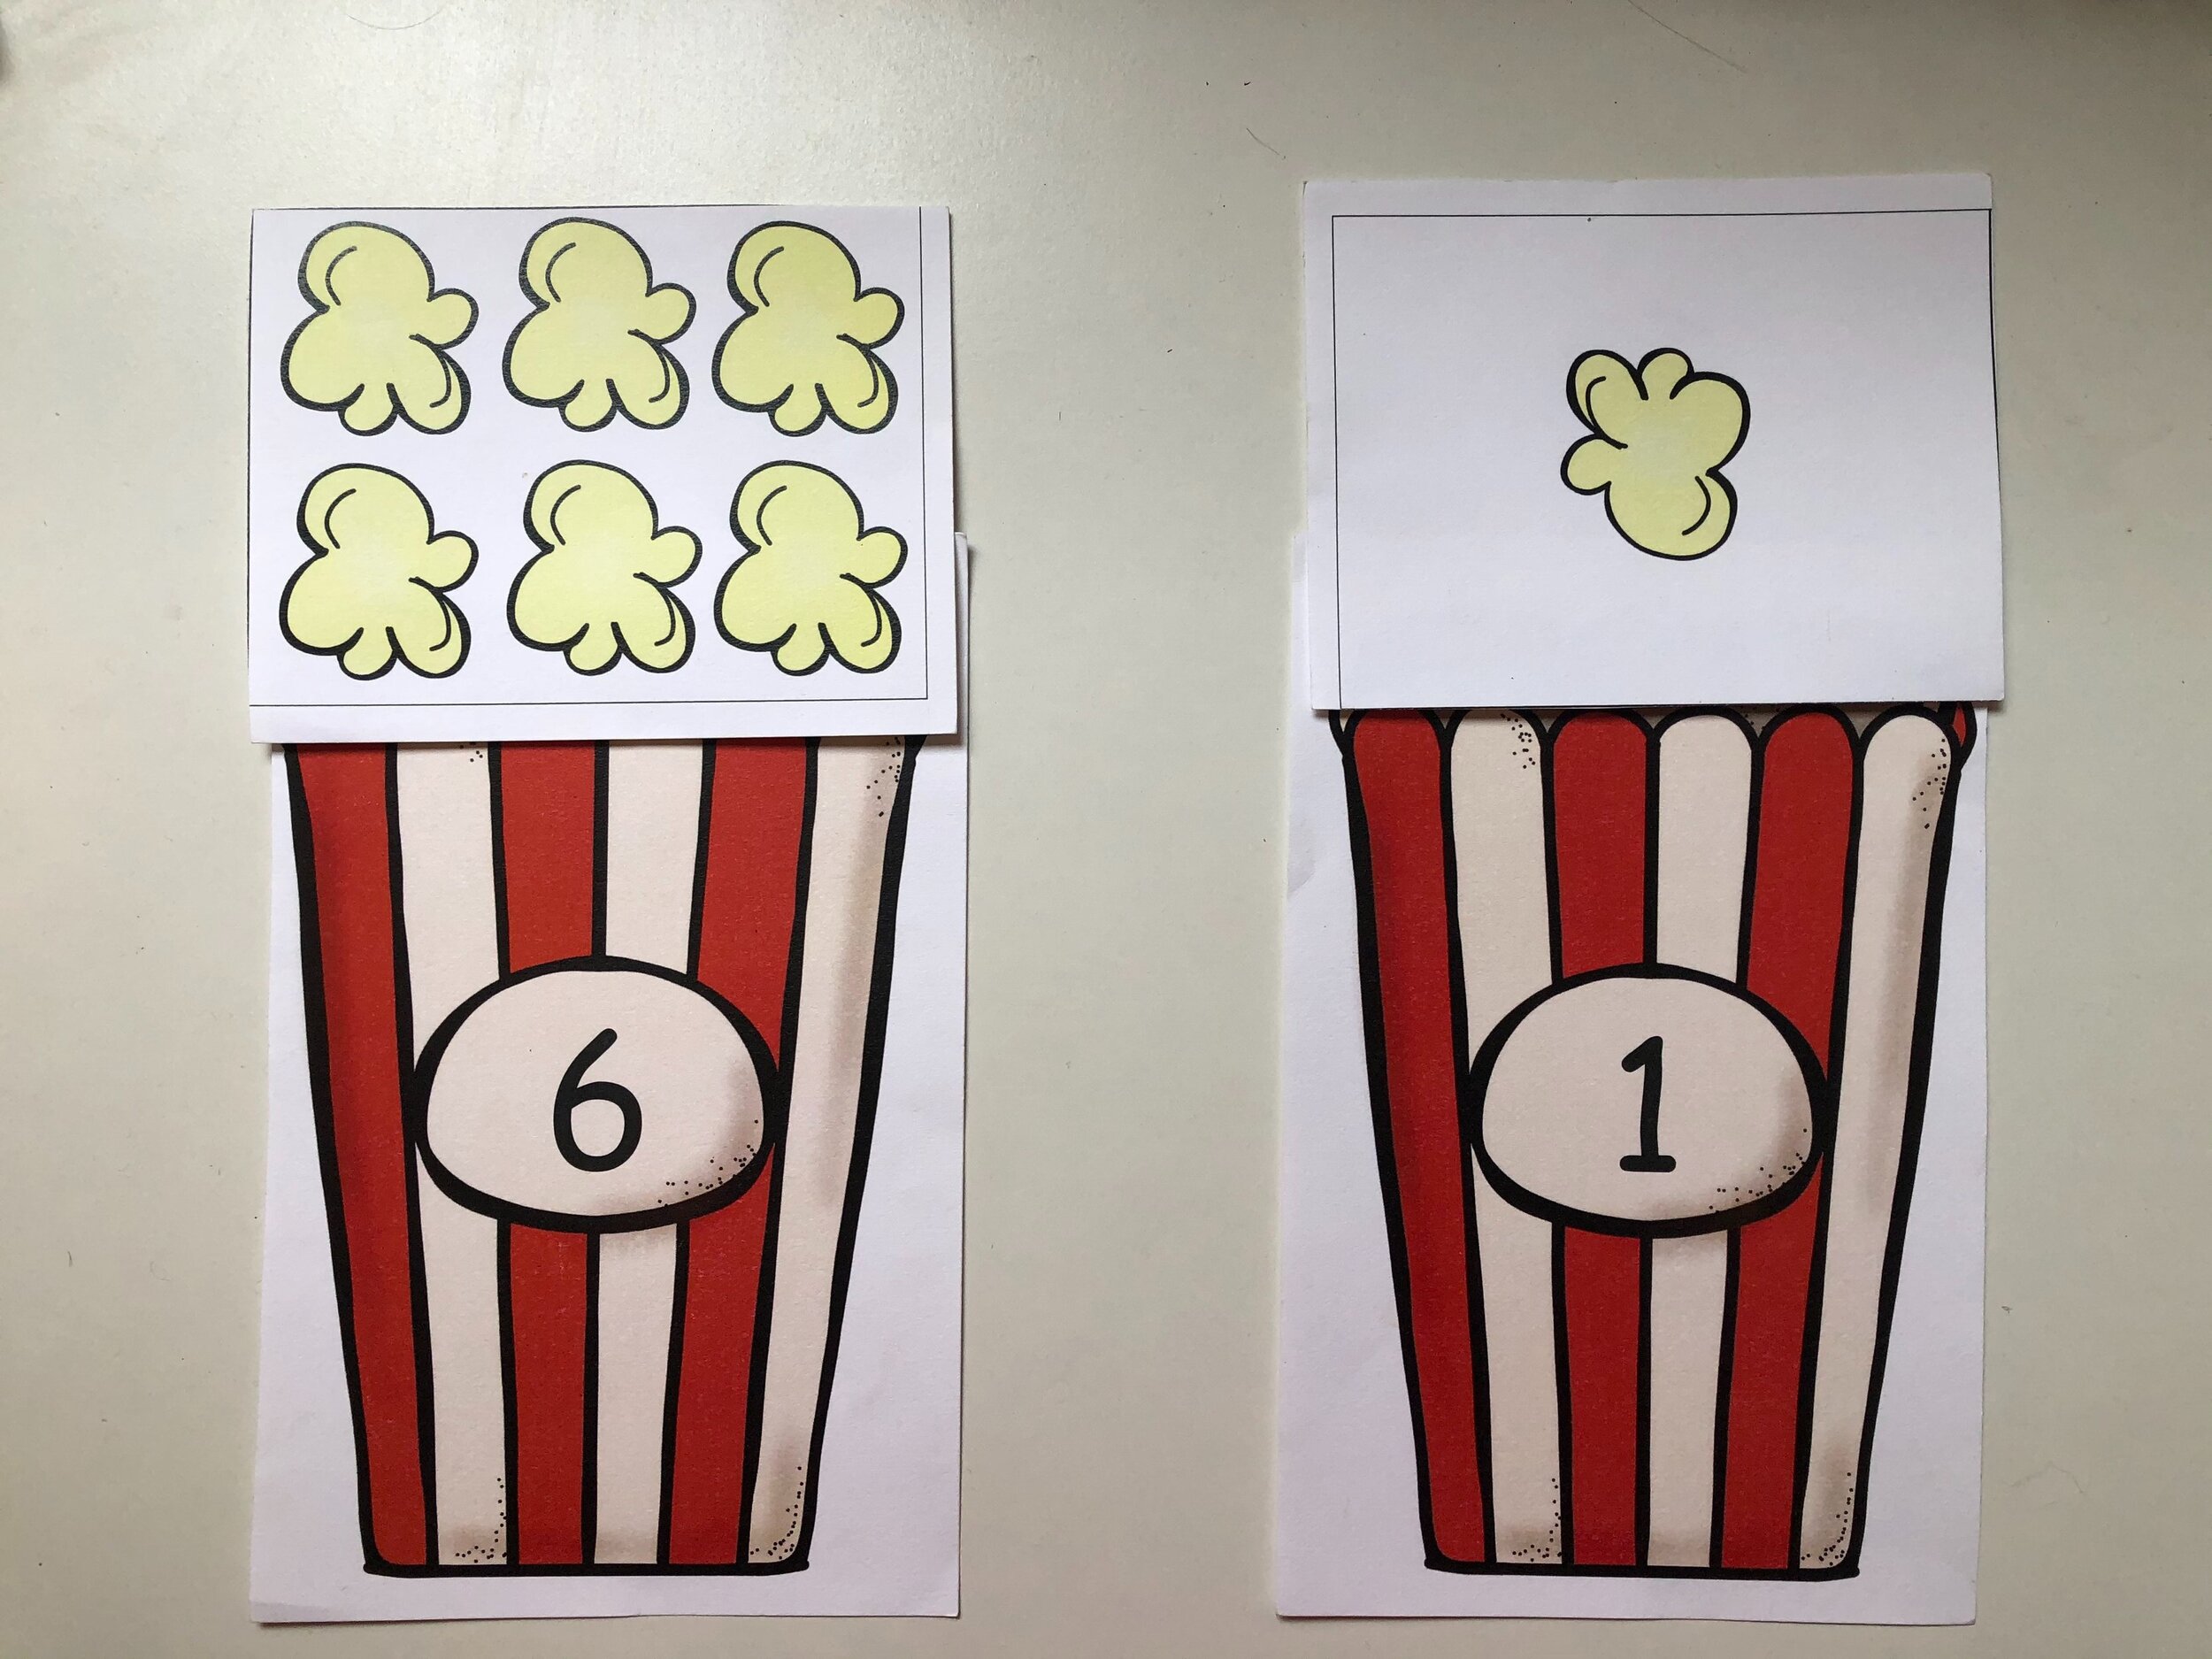
We all know there is nothing more motivating to kids than food! As Special Education Teachers, we are constantly trying to find interests and activities that entice kids as much as those M&M’s and Goldfish do! Bringing food into lessons can be tricky, and is at the discretion of the teacher, school, parents, etc. I have found that even if actual food isn’t present, using visuals and a big imagination can go a long way!


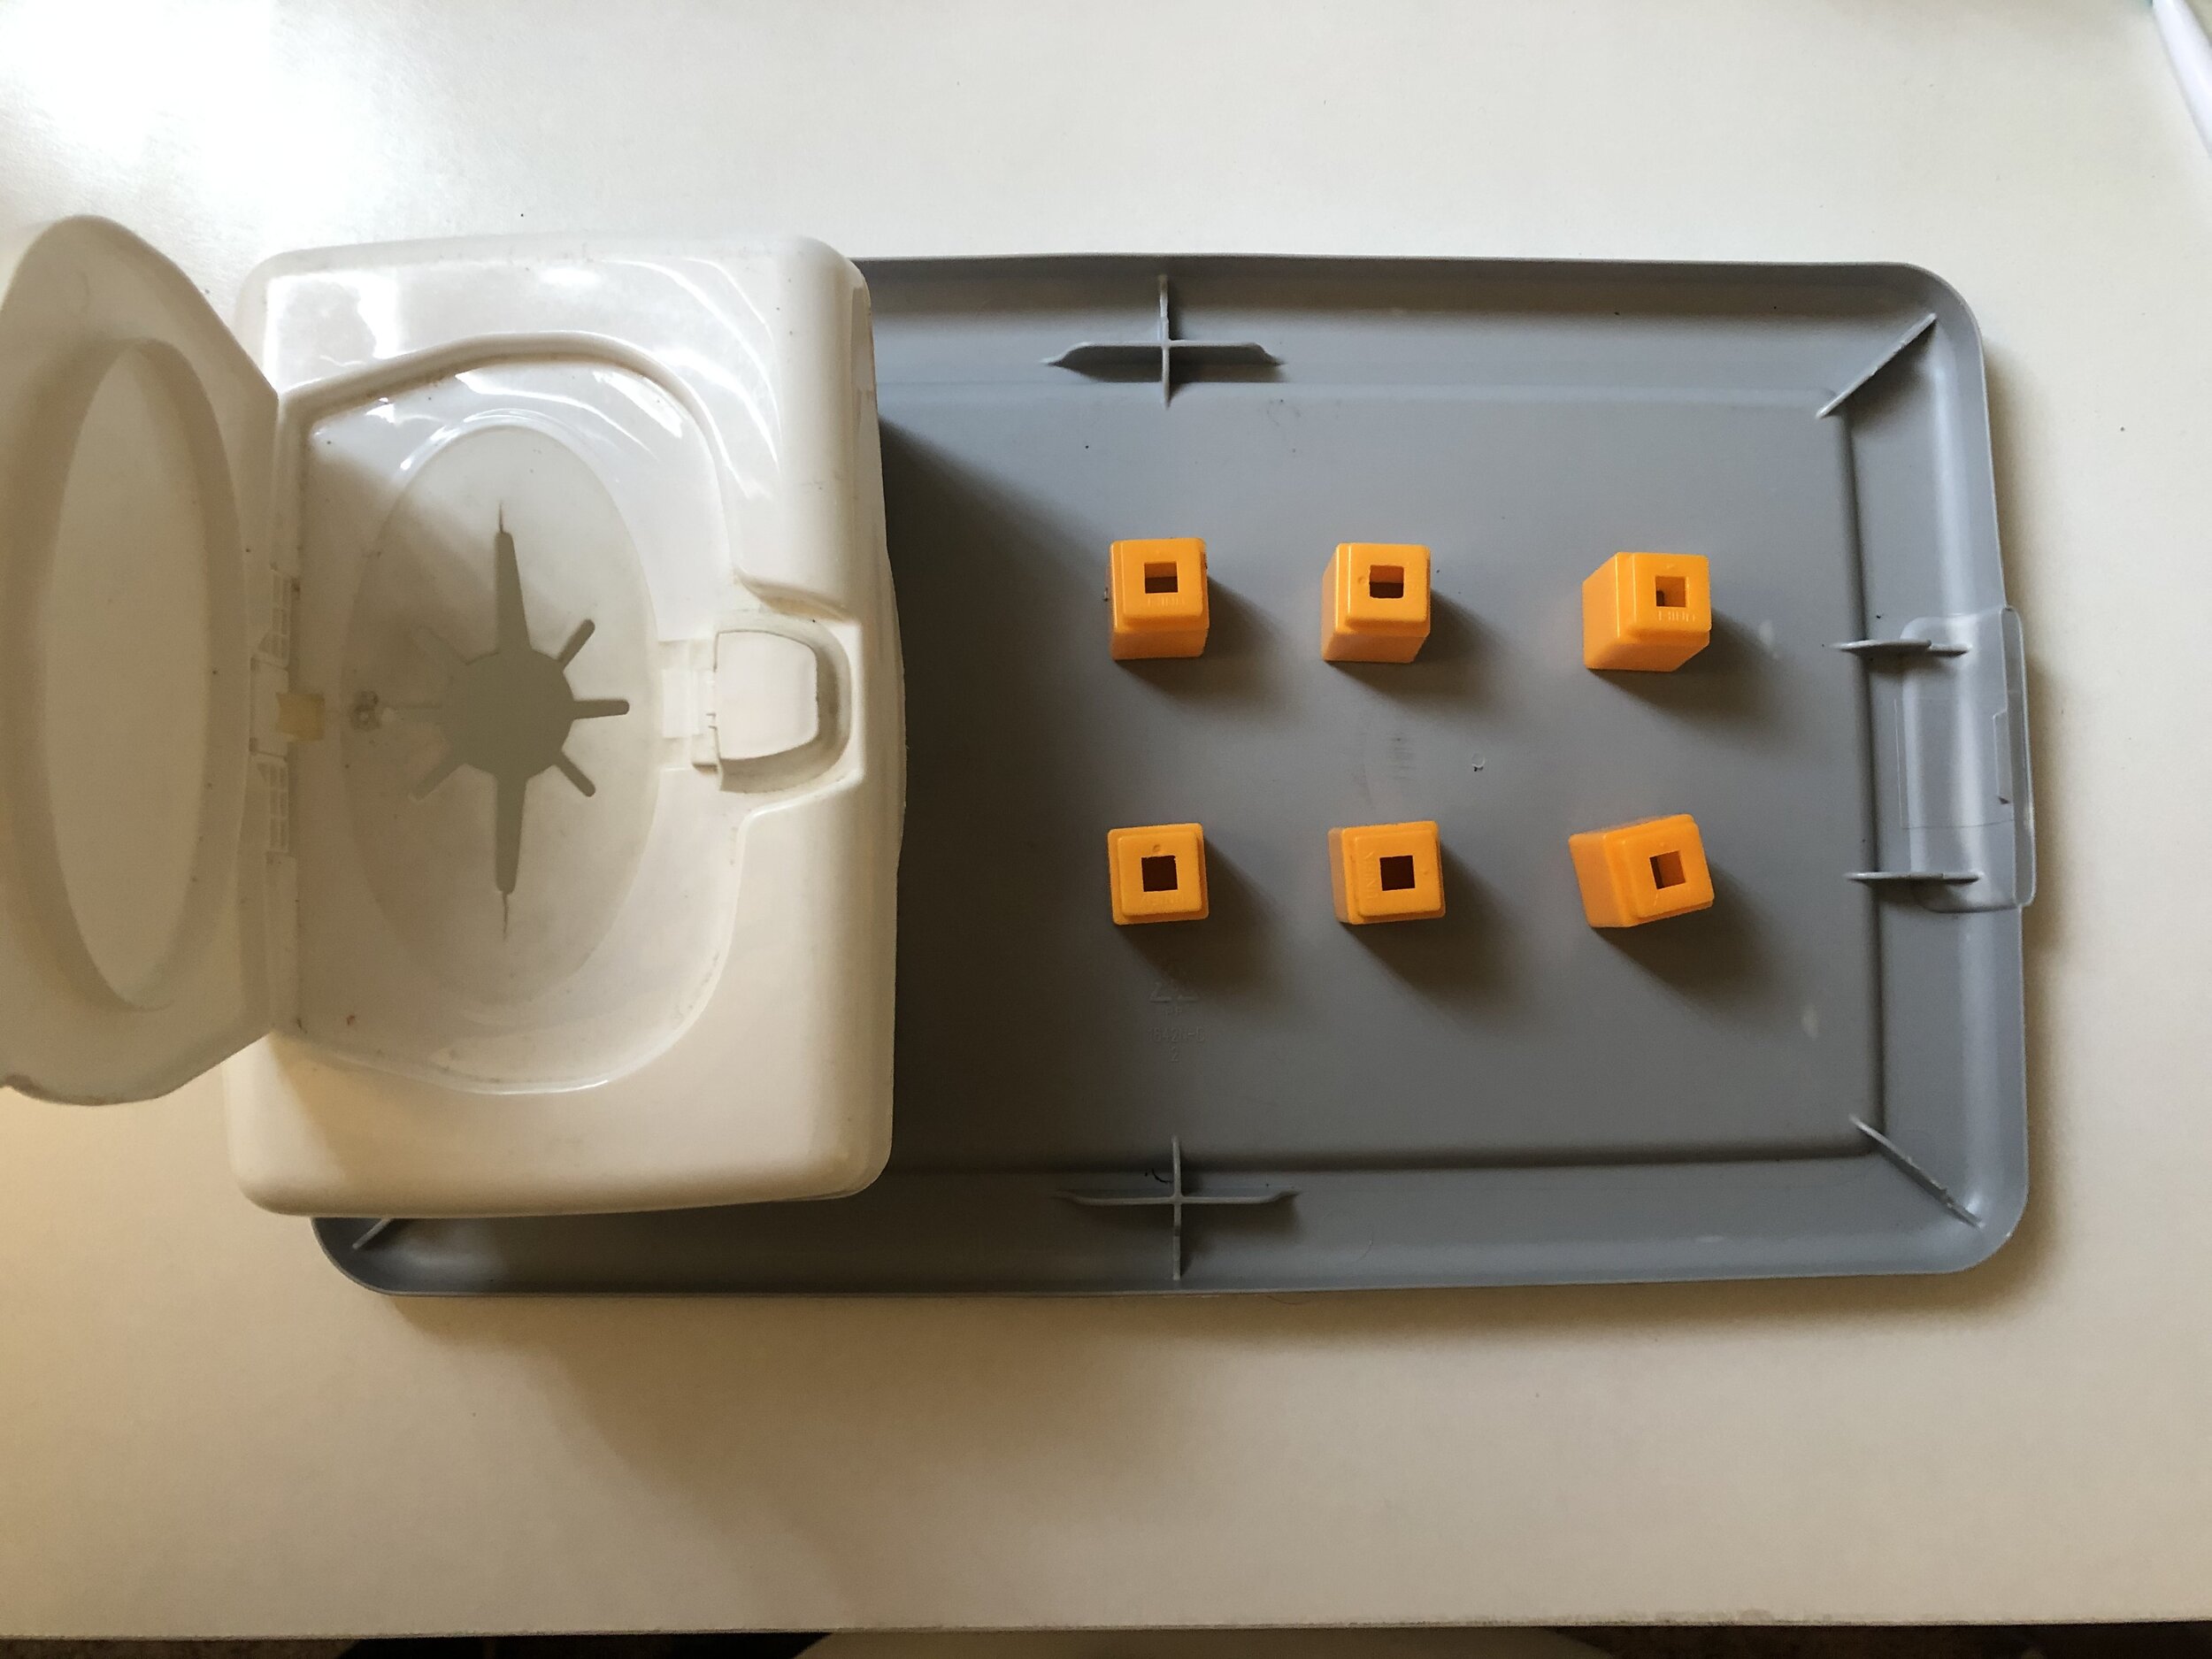
Use Blocks Outside of “Math Block” to Teach Counting

Sometimes teaching counting and numbers is most effective outside of the your designated “math block”.

Morning Meeting & Calendar Block: 

  • Count the number of students who are there each day

  • Count how many desks are empty 

  • Count the date (pointers go a long way!)

  • Graph & count the weather

Snack Time:

  • Have students pass out snack bags, place mats, silverware, etc. while counting out loud.

  • Have students count out how much of each snack they have (ie. Pretzels, goldish, etc)

Structured Play:

  • How many toys do we have out?

  • How many animals do you see?

Classroom Incentives:

  • Count money, marbles, dojo points, etc. for classroom incentives

…the list goes on!


Use Manipulatives

Manipulatives are a great way to engage students during math. Counting collections can look so many ways! It does not matter what is in each collection. Counting collections provide a concrete way to manipulate, touch and see the groups you are counting.

Examples of items to put in counting collections can include:

Beans, Bears, Blocks, Sticks, Marbles, Pencils, Cubes, Legos, etc.

IMG-7762.jpg

Multi Sensory Activities

Bringing numbers and objects into sensory activities is a great way to work with numbers using a multi sensory approach. Typically, I would try to follow the theme (ie. animals, family, food, etc.)

IMG-7786.jpg

Fine motor activities: 

  • Kinectic Sand

  • Water Tables

  • Play doh Mats 

These counting strategies can also be used for older students’ as well! All you have to do is make sure the manipulative’s reflect the students’ interests and age, and it makes counting that much more engaging and fun!

Conversation Tips After Escalated Behaviors

“When little people are overwhelmed by big emotions, it is our job to share our calm, not join their chaos.” -L.R. Knost

As Special Educators, we are constantly finding ways to be proactive and get ahead of what could potentially lead to extreme behaviors. As much as we try to stay ahead of it, it is undeniable that sometimes we cannot. Over the years, I have worked closely with students and teachers to find the best way to approach students after extreme behaviors.

CONVERSATION STEPS

*First and foremost: Make sure the child’s agitation level is down and he/she is not still in a vulnerable state. This is the most important part- if the conversation happens too soon, it will be a trigger and lead to more behaviors.

When approaching this situation, the goal is to have a meaningful conversation with the child. This means your approach should be non judgmental, your body language should be inviting, and your tone should be calm and soothing. This is not a time for reprimanding. Empathy and understanding must be shown regardless of the teacher’s stance, allowing the child to honestly share how they feel and take in what you are saying.

  1. When you see that the child has calmed down, pull the child aside and ask if they are ready to discuss what happened. This can also be phrased from an observational stand point “it looks like you are ready to talk to me, let’s go chat!”. Use your best judgement when determining the appropriate time to have this conversation. It does not have to be immediately following the event, but it should be before the end of the day.

  2. Allow the child to explain their side first. This is just the listening portion! When the child has finished explaining what happened and how they felt, be understanding and supportive to not minimize their feelings. Some ways you can do this:

    1. Ask open ended questions- “Can you tell me what happened?”, “What lead you to feel this way?”, etc.

    2. Repeat what they said with understanding- “You got upset because your hand was raised and you weren’t called on, I can completely see how that could be frustrating.”

    3. Use body language/nonverbal cues to demonstrate understanding. Sometimes all it takes is a smile and a nod to show you understand what the child is communicating.

  3.  When the child has finished explaining their side and you have actively listened and sympathized with them, it’s then your turn. Now is the time to respond, keeping in mind their perspective but offering ways to change the behavior in the future.

    1. Reiterate that you understand their feelings and explain why the behaviors that happened are not appropriate- “So, I completely understand how you not getting called on can be extremely frustrating, I have felt that way many times, however, do you see how throwing papers and knocking over chairs can be distracting and dangerous to those around you?”

    2. Give other ways to handle these behaviors appropriately in the future (e.g., Raising hand and telling teacher, requesting a break, breathing, walking away, etc)- “Next time, how about we try to take a few deep breaths and let your teacher know you need a break.” 

    3. Practice - “Let’s try it now! Pretend i’m the teacher who is not calling on you. How can we respond in a different way?”

  4.  End on a positive: “thank you for listening!”, “I know it’s hard sometimes but you can do it!”, etc. 

Inhale and Exhale

“Training your mind to be in the present moment is the #1 key to making healthier choices” – Susan Albers 

BREATHING EXERCISES

IMG-7644.jpg

Breathing exercises are a highly effective way to help students decompress throughout the school day, especially for students that have difficulty with self-regulation. Breathing exercises help reduce stress. Visuals are a great way to engage and guide a child through the breathing exercise. If your child or student is old enough, they can also pick their own personalized visual to pair their breathing with. For example, if I were to pick a mountain as my visual, I would inhale until I reached the peak of the mountain, then exhale till I reached the base of the mountain. Repeat this exercise about 5-10 times.

breathing2.png
breathing.png

GUIDED MEDITATION

Guided meditation is another exercise that helps reduce stress. Guided meditation activities are a great way to regroup after a transition or recenter the child during an activity. Guided meditation can be a 3 minute scripted program or it could be as easy as: “Relax your shoulders, now take 5 deep breaths. Unclench your jaw, now take another 5 deep breaths. Relax your hands and feet, and now take a minute to just close your eyes and breath”. For some children, setting a timer and having the child quietly free draw or read can be equally as calming. Eventually, if these exercises are integrated into the students’ everyday schedule then your child or student will have the tools to self sooth! 

breathing3.png

Schedules, Schedules, Schedules!

“A schedule defends from chaos and whim. It is a net for catching days.” -Annie Dillard

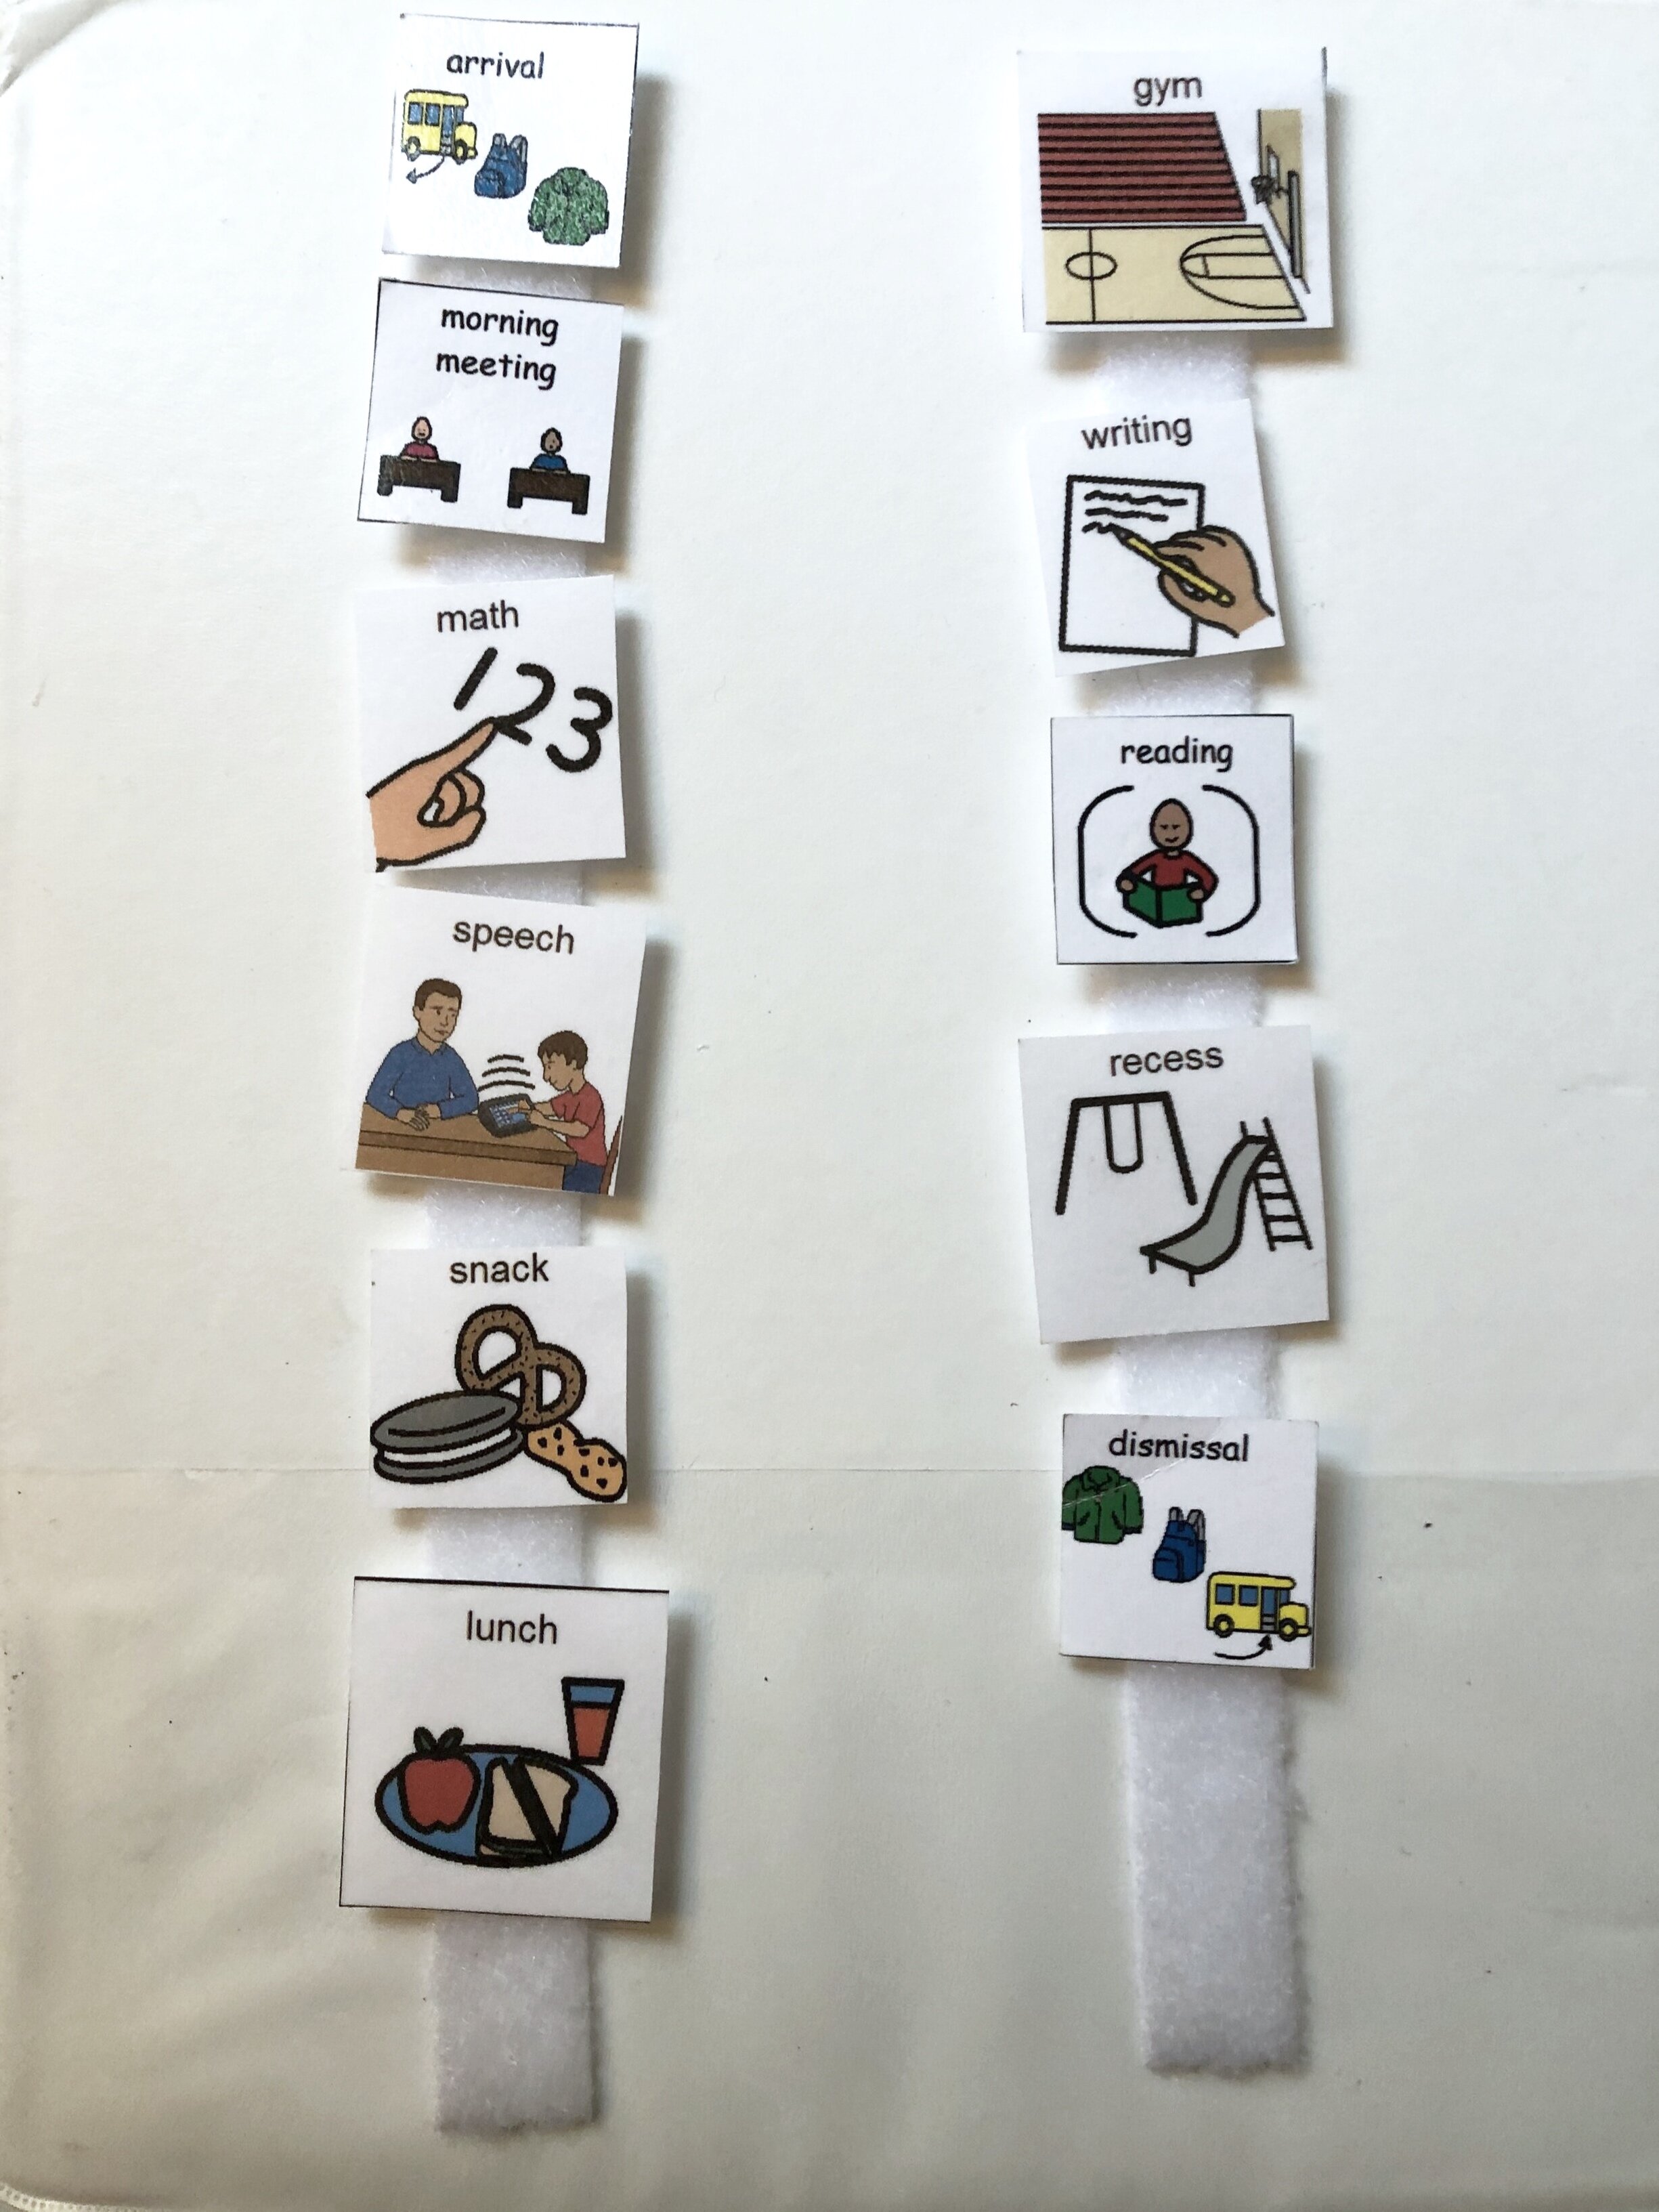
The easiest and most efficient way to create consistent routines, promote independence, and break down steps of tasks is through schedules. Schedules can be used for ANY and all activities!


WHOLE GROUP SCHEDULE

When discussing the importance of schedules with teachers, I often reference a day of trainings and meetings without an agenda. What does our day look like? When will we get a break to go to the bathroom? What are we doing today? Most importantly, when is lunch?! Schedules set the tone for the entire day. It allows students to process what their day will look like and what to expect without any surprises. A whole group schedule should be reviewed first thing in the morning, allowing students to ask questions and get ready for their day.


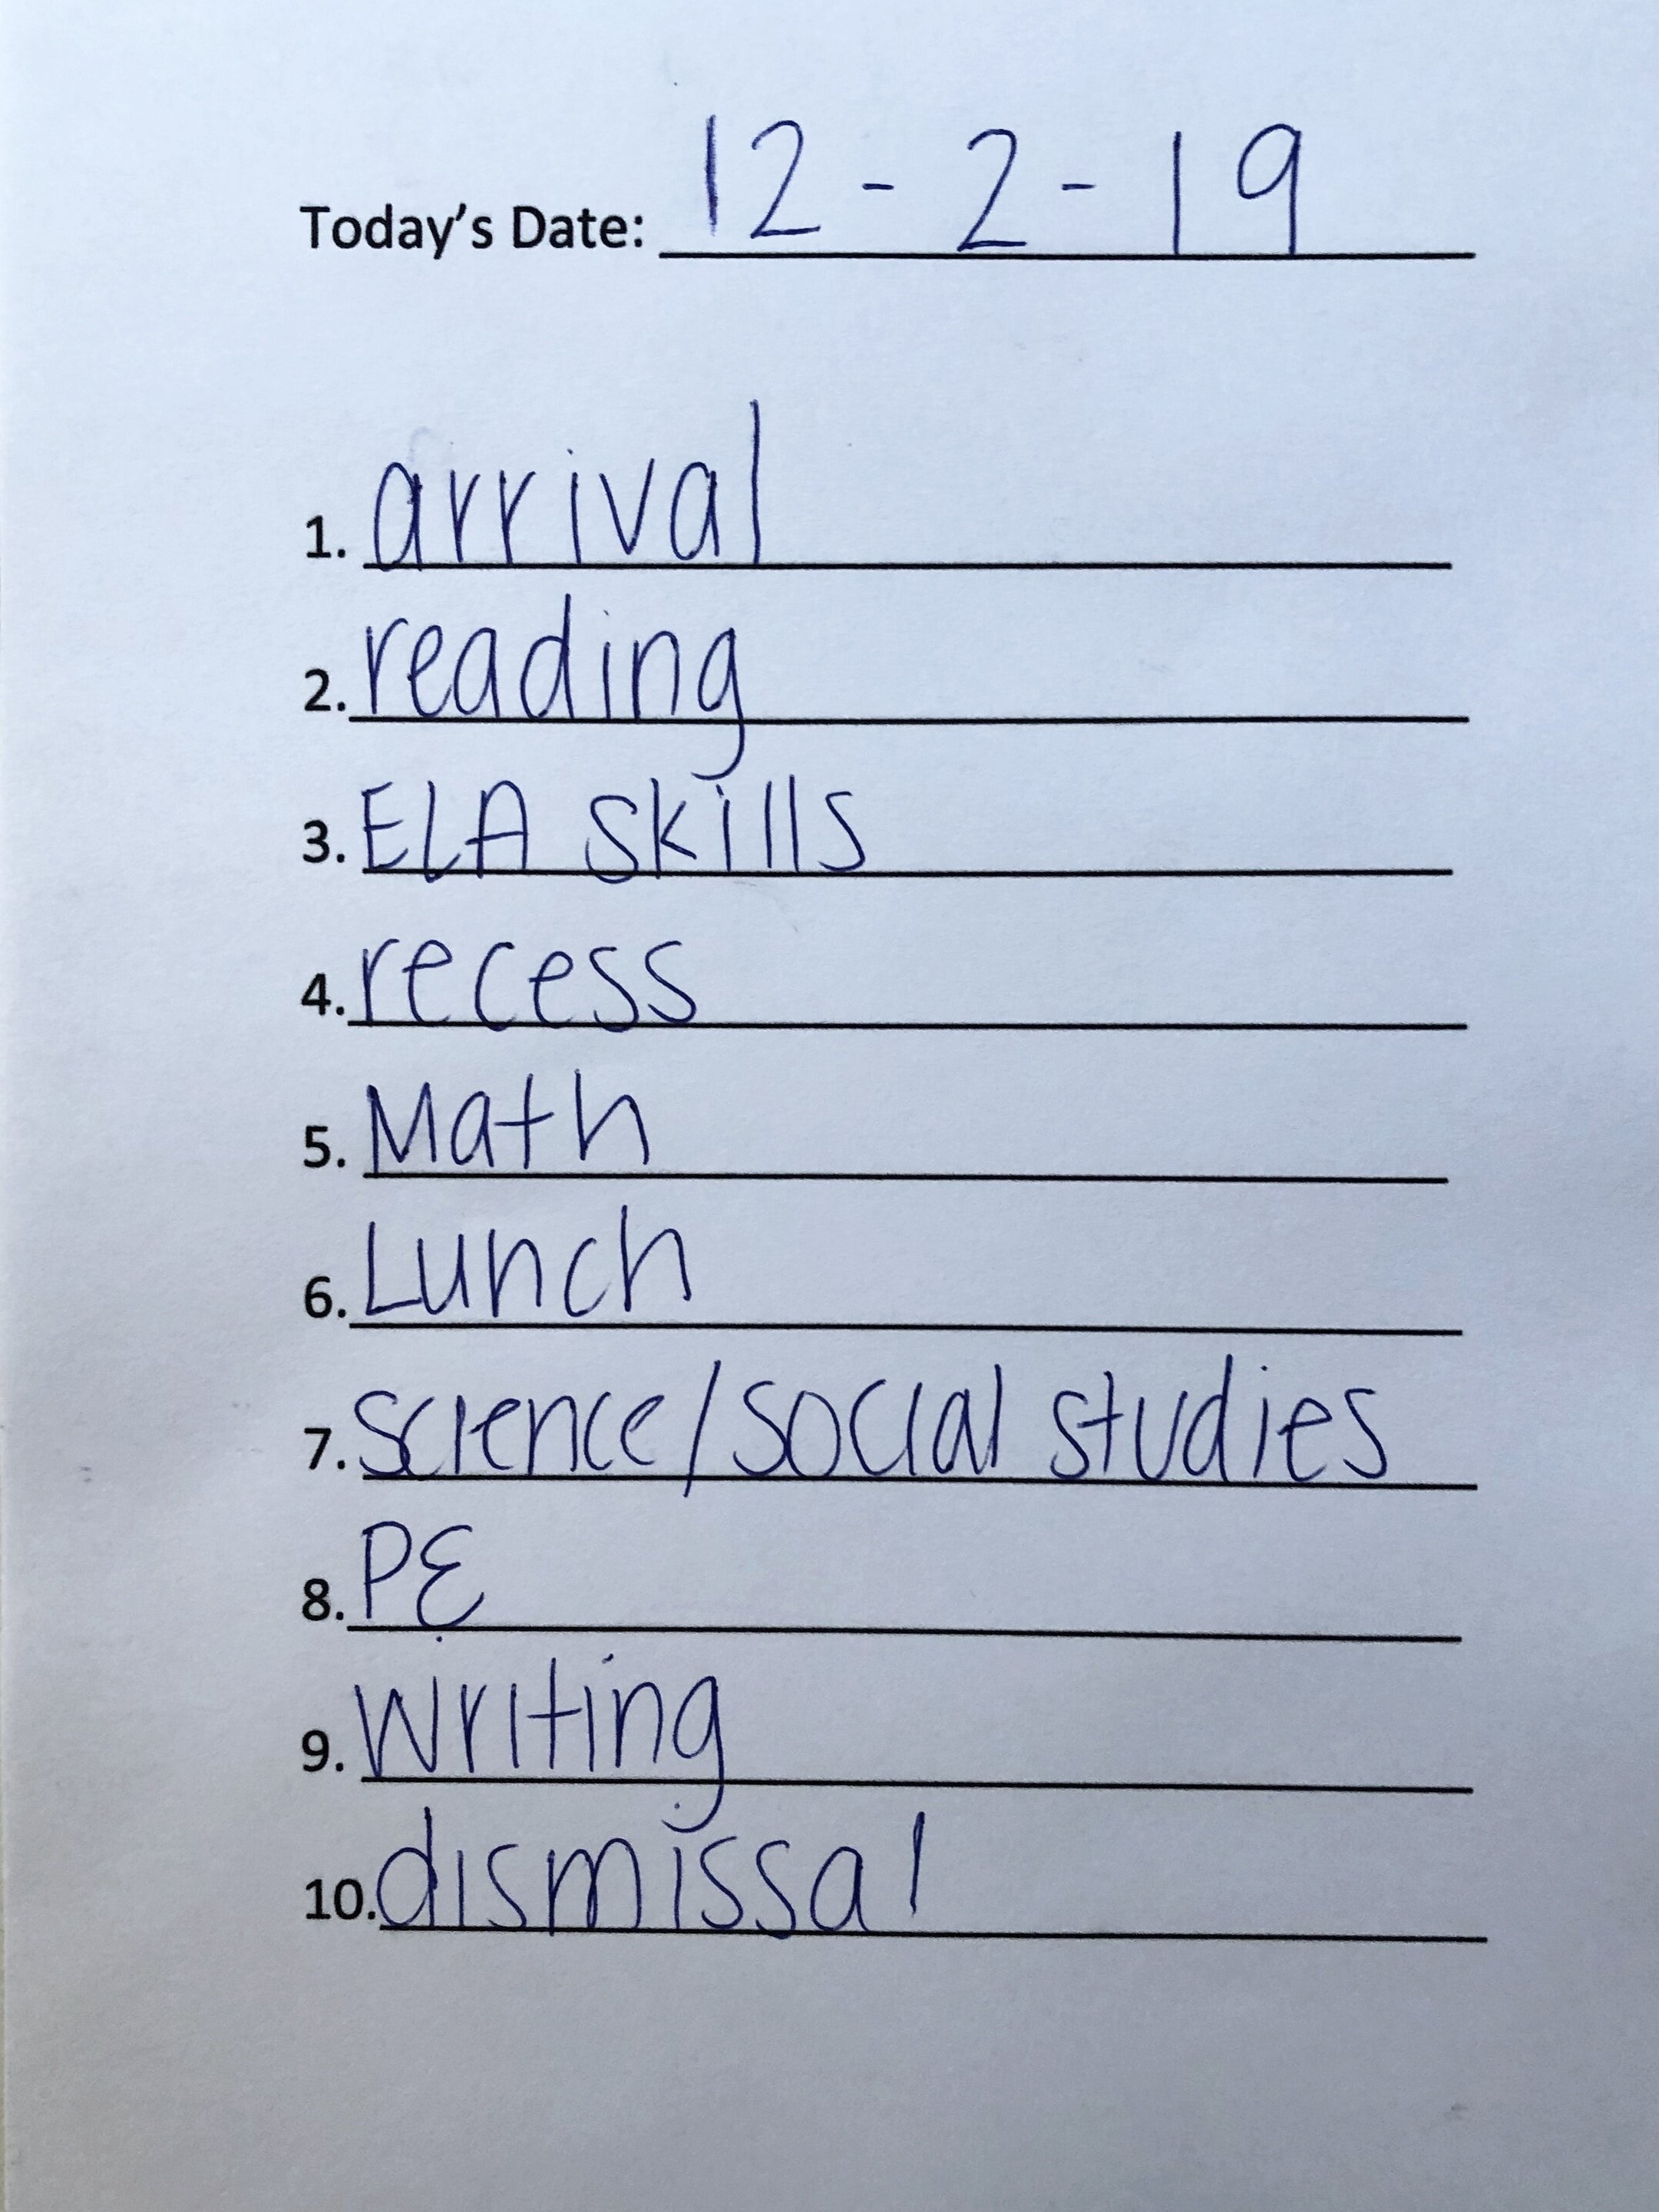
INDIVIDUAL SCHEDULES

Let’s take the whole group schedule one step further! As much as we would love to have a classroom on the exact same schedule, we’d be dreaming! Managing multiple schedules can be exhausting! Parents are constantly referring to family calendars, white boards, planners, etc. to find out what activities are that day, where each child needs to be at what time, variety of appointments, etc. It can be chaos! Teachers feel the same stress. Special education teachers are managing classrooms across multiple grade levels with different independent needs. Every student’s schedule varies based on their grade level, push in and pull out services, academic mainstreaming, independent functioning, the list goes on. Individual schedules allows teachers, paraprofessionals and students to reference what their day will look like. 


revamped schedule.png

Academic Rotations Schedules

Due to the diverse needs in a special education classroom, most academics are taught through academic rotations or centers. Each designated center is working on a different skill set: ie. guided reading center, independent center, technology center, word work center, etc. Providing students with their own academic rotations schedule promotes independence during the academic block, maximizes work time and assists in smoother transitions.


IMG-7583.jpg

MINI TASK SCHEDULES

Mini task schedules can be used to provide step by step instructions for specific tasks or activities. Mini task schedules break down a designated task into simple, straight forward steps to promote independence and help guide students through a task or activity.  

IMG-7579.jpg


Learning with Leyla & Sarah

Leyla_Sarah-47.jpg

Welcome to “Learning with Leyla and Sarah”! We are so excited to share with you all things Special Education! Our blog will cover everything from in home and in school supports, how to implement strategies in the classroom, adapting/differentiating curriculum, data collection tools, IEP tips and tricks, and more! If you’re ever interested in a specific topic that isn’t covered, please contact us and let us know! We hope you enjoy!

Leyla and Sarah


How to Sustain Motivation Throughout The Year

“Motivation increases the initiation and persistence of activities.”


1. REINFORCEMENT CHECKLIST

What motivates one child might not motivate the next! Starting the year by providing students with a quick reinforcement checklist allows you to see the most effective motivators for each child. Like all things, children change and so does the newest fad! Update it throughout the year to assure that what the child is working for is actually motivating them. 

2. ESTABLISH EXPECTATIONS

Teachers spend weeks, even months setting expectations in the classroom. Parents establish and are reminding children of expectations daily. Expectations can vary depending on the activity. The child’s morning routine expectations may look different than completing academic work in the classroom. Setting clear, concise expectations and follow through is key. Expectations can be taught and practiced through role playing, visual supports, positive reinforcement and PRACTICE!

3. VISUAL SUPPORTS 

 Accomplishing everything one needs to do in a day is hard for any child, but is especially hard for a child who has trouble with executive functioning skills, ADHD, cognitive delays, etc. Visual supports can make all the difference! Visual supports help children throughout the day and allows them to process your verbal language in another way. Allowing the students to see what they need to do in order to earn their preferred reinforcer not only holds the child accountable, but the adults as well.                        

4. DIFFERENTIATE

Token economy systems should be differentiated based on individual needs. Not only should their highly motivating reinforcers be specific to each child, but the system that works for one child may not work for the other. Some children need reinforcement to complete all tasks throughout the day: getting dressed in the morning, getting on the bus, completing a table top activity, etc. One child may be able to sustain attention for 5-10 minutes while others can go an entire academic block. Differentiation is key!

 EXAMPLES OF TOKEN ECONOMY SYSTEMS:

Picture1.png
Token Economy 1.jpg

5. TEACH

Provide direct and explicit instruction when teaching a designated token economy system. Not only does the child need to learn, but the adults implementing the system need to as well. Again, consistency is key. Role playing is a fun way to teach what the expected and unexpected behavior looks like! Give clear examples of how a child will earn a token and clear example of ways they would not.

6. PRACTICE MAKES PERFECT 

When everything is all set in place, practice makes perfect! Provide the child with numerous opportunities to practice and succeed with positive reinforcement.Children learn best through practice, repetition, and reinforcement.